
Last updated November 2, 2026
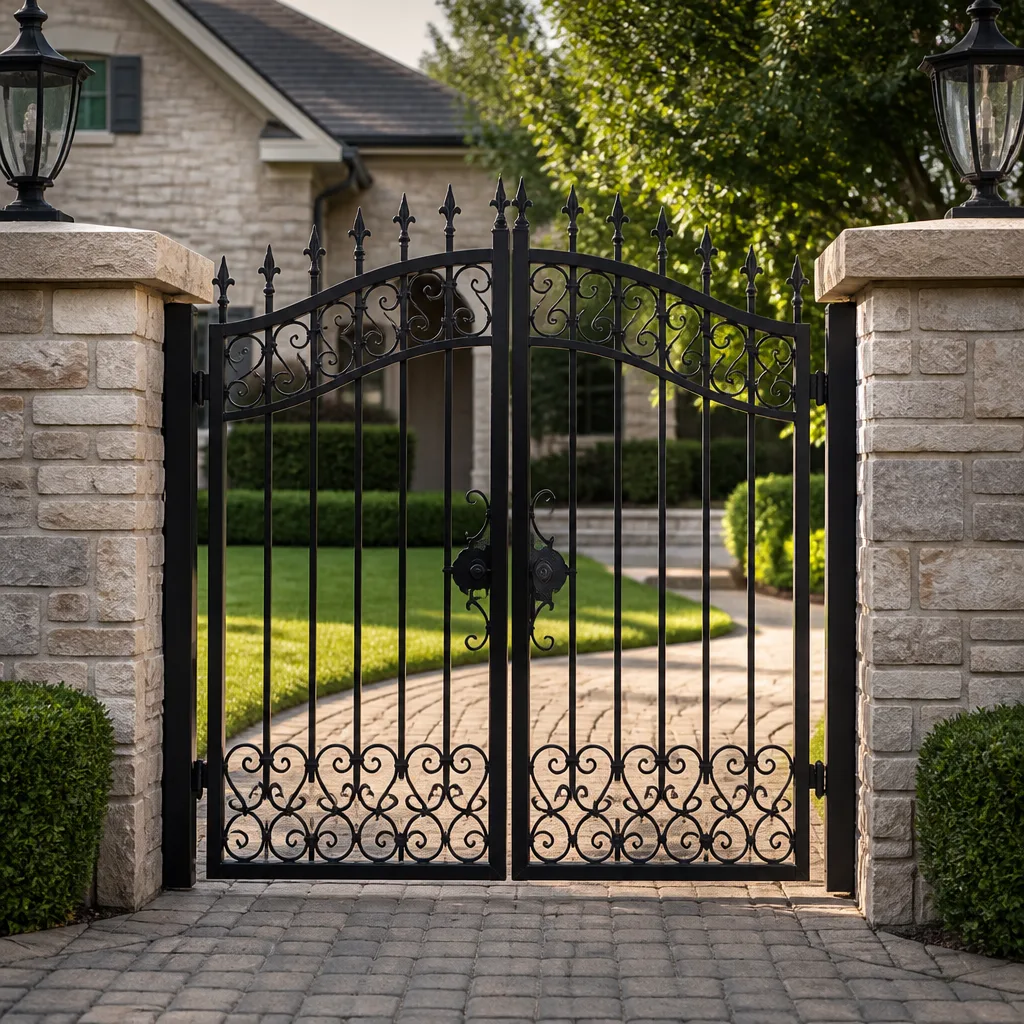 Wrought iron
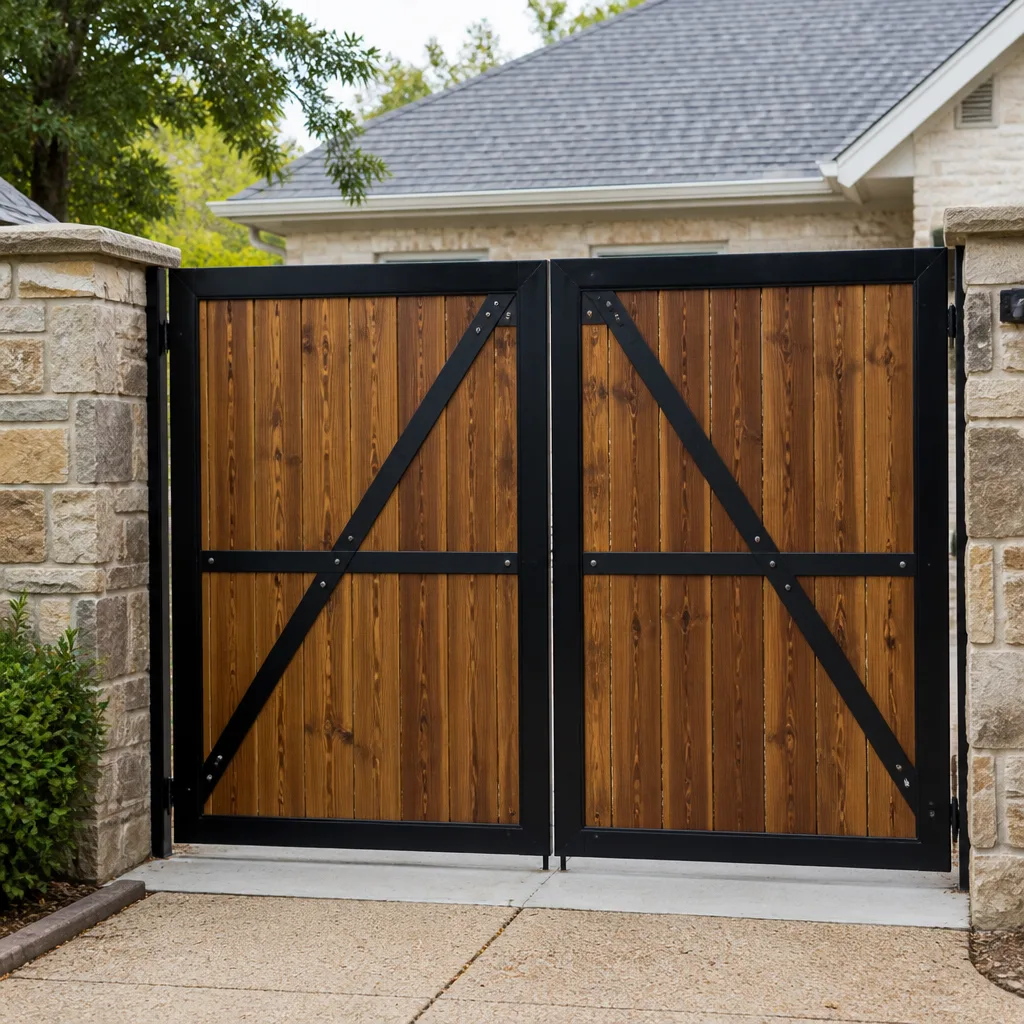 Wood & steel frame
 Farm & ranch
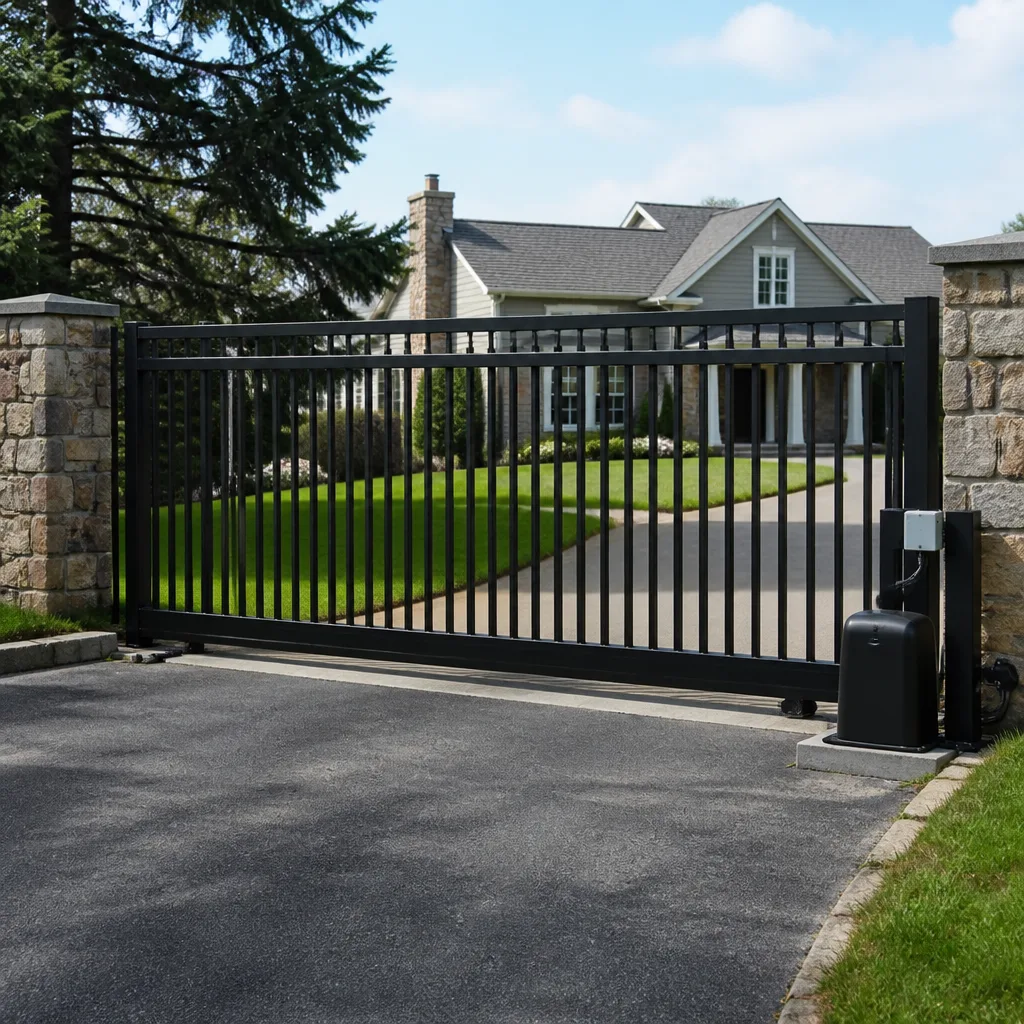 Sliding driveway gates
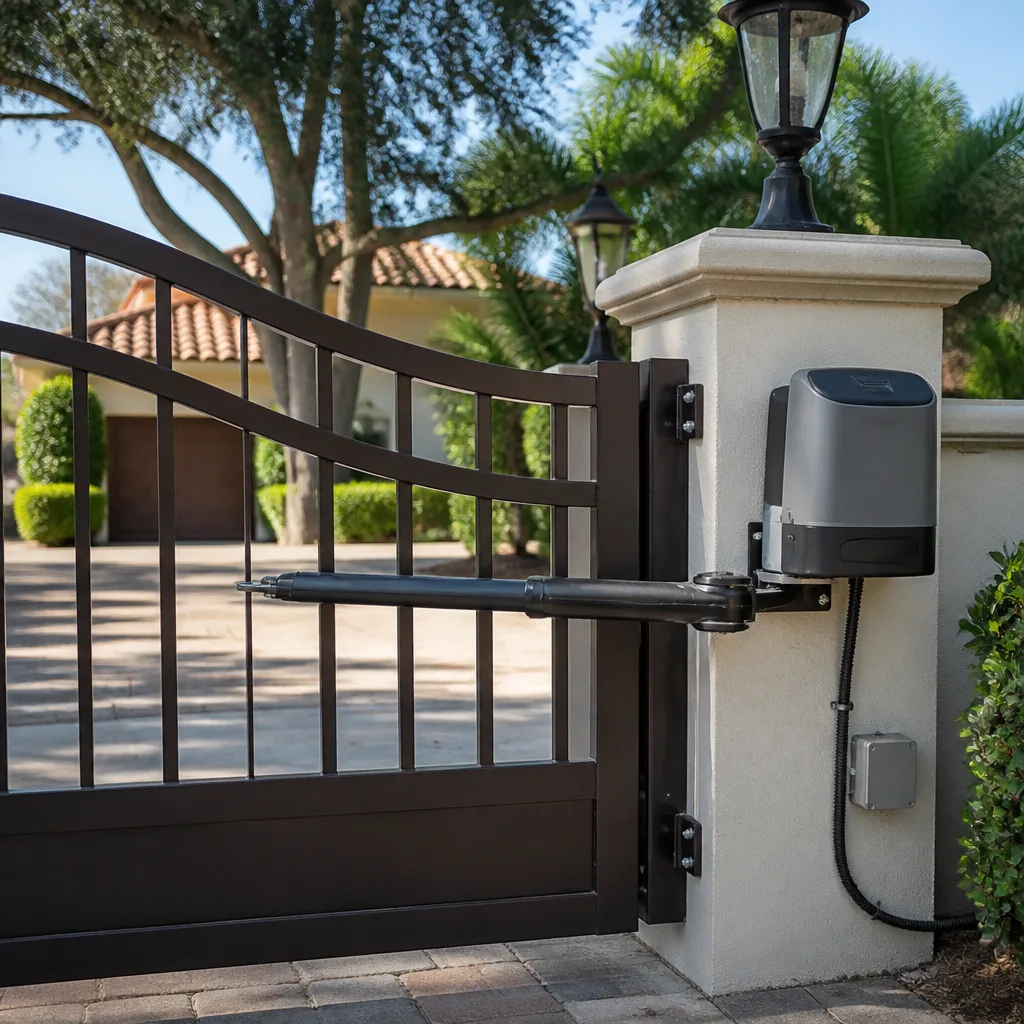 LiftMaster operators
Free on-site gate assessment - hinges, posts, and your LiftMaster or Nice gate operator checked before anything is quoted
The assessment is free and the quote is the invoice.
Get your free estimateGate Repair Troubleshooting: Common Problems and How to Fix Them
If your gate stopped working and the power is on and the remote has fresh batteries, you’re now in the 85% of cases that generic troubleshooting guides weren’t written for. Most articles stop at “check the breaker” and “replace the remote battery,” which solves maybe 15% of gate failures. The real diagnostic work starts when those basics check out fine, and this guide – along with Gate Repair Warning Signs: A Lancaster Homeowner’s Reference Guide – picks up exactly there. We’ll walk through the symptom-first logic tree a trained technician uses on a service call here in Lancaster, from distinguishing mechanical failures from electrical and sensor failures to reading the blink codes your operator is already showing you.
Quick Answer
Gate repair troubleshooting starts with identifying the symptom: the gate won’t open, won’t close, opens partially, reverses unexpectedly, or moves slowly. After confirming power and remote batteries are good, the cause is almost always one of three things: a mechanical failure (hinges, wheels, track, spring), an electrical failure (control board, transformer, capacitor, wiring), or a sensor failure (photo eyes, safety edges, limit switches). Many “dead gate” scenarios can be resolved by putting the gate into manual mode so you’re not stranded while waiting for our Gate Repair services.
Styles & brands we work with
- Wrought iron
- Wood & steel frame
- Farm & ranch
- Sliding driveway gates
- LiftMaster operators
Table of Contents
- Symptom-First Diagnostic Tree: Where to Begin
- How to Tell a Mechanical Failure From an Electrical Failure
- Understanding Gate Operator Error Codes and Blink Patterns
- How to Put a Failed Gate Into Manual Mode Safely
- What’s Safely DIY vs. What Requires a Professional
- Photo Eye and Safety Sensor Failures: The Most Common Culprit
- When the Gate Won’t Close: Reversal and Obstruction Logic
- Why Your Gate Moves Slow: Voltage, Weight, and Wear
Symptom-First Diagnostic Tree: Where to Begin
Every gate problem presents as one of five symptoms. Instead of guessing at causes, start with the symptom and work backward. Here’s the tree we use on service calls across Lancaster, from the Antelope Valley’s wind-exposed west side to the larger estates east of the 14 freeway.
Symptom 1: Gate Won’t Open at All
Dead gate, no movement, no hum, no click. Check these in order:
- Power to the operator – Is the operator plugged in or hardwired to a breaker that’s on? Test the outlet with a lamp or meter if you can reach it safely.
- Remote battery – Fresh battery, correct polarity, and remotes that are actually programmed to the board.
- Manual release – Is the gate in manual mode already? Many “dead” gates are simply disengaged from the operator.
- Control board status lights – A board with no lights typically means no power reaching it, even if the outlet works. That points to a transformer, fuse, or wiring issue.
Symptom 2: Gate Won’t Close
The gate opens fine but refuses to close, or closes partway and reverses. This is usually a sensor problem, not an operator problem. Photo eyes, safety edges, and loop detectors are designed to prevent closing when something is in the path. In Lancaster’s dusty conditions, photo eye lenses get coated faster than in most markets, and wind-blown debris frequently triggers false obstructions.
Symptom 3: Gate Opens Partially
Gate moves a few inches or feet, then stops or reverses. This points to either a mechanical bind (hinge, wheel, track) creating excess resistance, or a limit switch setting that’s drifted. On sliding gates, a partially open position often means the gate hit something on the rail or the wheels have worn unevenly.
Symptom 4: Gate Reverses Unexpectedly
Gate starts closing, then reverses before reaching the close limit. Classic cause on swing gates is a failing safety edge or a photo eye that’s intermittent. On slide gates, it’s often a limit switch that’s set too tight or a gearbox that’s slipping under load.
Symptom 5: Gate Moves Slow
Gate operates but noticeably slower than it used to. This is frequently a capacitor issue on AC operators, low voltage to a DC operator’s board, or mechanical resistance from worn rollers or hinges that’s taxing the motor. We’ll dig into this in detail later.
How to Tell a Mechanical Failure From an Electrical Failure Without Opening Panels
You can diagnose a lot without touching a single wire or removing a control panel cover. The distinction matters because it tells you whether you’re calling an electrician, a gate technician, or just a lubricant spray.
The hum test. When you trigger the gate, do you hear the operator motor humming but nothing moves? That’s a mechanical problem. The motor is getting power and trying to work, but something physical is preventing movement. Common causes: broken drive chain, stripped gear, seized pulley, hinge that’s rusted solid, or a wheel that’s come off the rail.
The click test. Do you hear a relay click but no hum and no movement? That’s electrical. The board is responding to the remote or keypad command, but power isn’t reaching the motor. Likely culprits: failed capacitor, blown fuse on the board, bad transformer, or a broken wire between the board and motor.
The nothing test. No click, no hum, no movement. That’s electrical at the board or power supply level. The board may not be receiving power at all, or the board itself has failed. On Linear and DoorKing operators, a board that’s receiving power but is dead will often show a specific error light pattern, which we’ll cover next.
The physical test. With the operator disengaged (see manual mode section), try to push the gate by hand. If it moves freely and easily, the mechanical side is fine, and your problem is electrical. If it’s hard to move, catches, or won’t budge, you’ve got a mechanical failure that may have caused the electrical failure by overloading the motor.
In Lancaster’s climate, we see a seasonal pattern. Summer heat hardens grease and expands metal, causing mechanical binds that didn’t exist in spring. Winter rains bring rust to hinges and tracks, especially on properties near the aqueduct or in the lower-elevation parts of town where moisture lingers longer. A gate that worked fine in November can seize up by February purely from rust, no electrical issue involved.
Understanding Gate Operator Error Codes and Blink Patterns
Most modern gate operators tell you exactly what’s wrong if you know how to read them. Here are the most common codes and blink patterns for the brands we service regularly in Lancaster.
Linear Operators
Linear is one of the most common residential and light commercial gate operators in the Antelope Valley. Their boards use a diagnostic LED that blinks in sequences.
- One blink, repeating: Entrapment protection fault. A photo eye or safety edge circuit is open or misaligned. Check for dirt on photo eye lenses first.
- Two blinks, repeating: Motor overload. The motor drew too much current, usually because of a mechanical bind. Clear the bind before resetting or you’ll blow the board again.
- Three blinks, repeating: Limit switch fault. The board isn’t seeing the open or close limit signal, or the limits are set incorrectly.
- Solid light: Board has power and is in normal operating mode.
- No light: No power to the board or the board has failed.
Viking Operators
Viking operators are built for heavy-duty residential and commercial use, and their diagnostics are more granular.
- Rapid blinking after a command: Safety loop or photo eye obstruction. The gate will not move until the obstruction clears or the loop is reset.
- Error code “E2”: Motor overcurrent. Same logic as Linear: something is binding, and the motor is fighting it.
- Error code “E4”: Communication error between the board and a peripheral, often a plug-in loop detector or a wireless safety edge.
- Slow blinking, no response to remote: The board is in “sleep” mode or has lost its learned remote codes, which happens after power surges.
Power surges are a real issue in parts of Lancaster, especially during the summer monsoon season when lightning storms come through the high desert. We see more Viking board resets and lost remote programming in July and August than any other time of year. A surge protector on the operator’s power supply is cheap insurance.
Ghost Controls and DoorKing
Ghost Controls is the primary residential swing gate system on the market, and it’s popular across Lancaster’s newer subdivisions. Their diagnostic beeps are loud and easy to read.
- Three beeps after attempting to open: Battery voltage too low. The operator is running on battery backup and doesn’t have enough charge to move the gate.
- Five beeps: Motor overcurrent or stall. Usually a hinge problem or a gate that’s too heavy for the operator’s rating.
- Continuous beeping: The operator is in setup mode or has lost its limit settings.
DoorKing operators on commercial properties use a digital display, which makes diagnosis direct. Common codes include “ALARM 1” for photo eye obstruction and “ALARM 2” for a failed reverse loop. If you’re seeing a number you don’t recognize, most DoorKing boards have the code legend printed inside the control box cover.
In our experience, reading the blink code correctly on the first visit is what separates a 20-minute repair from a 2-hour parts-swapping session. That’s why our technicians at Gate Repair in Lancaster are trained on specific brands rather than learning on your gate.
How to Put a Failed Gate Into Manual Mode Safely
Every automated gate has a manual release mechanism, and knowing how to use it means the difference between being stuck and having a functional gate while you wait for service. Here’s how to do it for each major gate type.
Swing Gate Operators (Linear, Viking, Mighty Mule, Ghost Controls)
- Locate the manual release. On most swing gate operators, it’s a small lever or pull handle on the operator arm itself. On Linear and Viking models, look for a T-handle or a keyed release on the side of the housing.
- Pull or turn the release. This disengages the motor from the drive mechanism. The gate will now swing freely.
- Move the gate by hand to the open or closed position, whichever is more secure for your property.
- Secure the gate with a chain, lock, or block so wind doesn’t swing it into a vehicle or pedestrian. Lancaster wind is no joke, especially from March through June.
Slide Gate Operators (Linear, Viking, DoorKing, BFT)
- Locate the release lever or keyhole on the operator housing. Slide gate operators use a chain drive or a gear rack, and the manual release disengages the drive sprocket.
- Insert the key or pull the lever. On some DoorKing models, you’ll need to push a release pin while pulling the lever simultaneously.
- Once released, the gate can be pushed along the track by hand. Slide gates are heavy, so expect resistance even when disengaged properly.
- Block the gate open or closed. Never leave a manual slide gate loose on its track, because it can roll into the end stop and damage the frame.
One note: after putting the gate in manual mode, most operators will not automatically re-engage when you flip the release back. You’ll need to run a full open and close cycle from the board or keypad to re-sync the limits. If the gate still won’t run after re-engaging, that’s a separate electrical issue, and it’s time to call us at Gate Repair Lancaster home for a free estimate.
What’s Safely DIY vs. What Requires a Professional
There’s a clear line between what a homeowner can safely do and what requires a trained technician. Crossing that line risks serious injury, property damage, or both.
Safe to Do Yourself
- Replacing remote batteries
- Cleaning photo eye lenses with a dry cloth
- Checking the circuit breaker and resetting a tripped GFCI
- Clearing debris from the gate track on a slide gate
- Lubricating hinges and wheels with a spray lubricant
- Putting the gate into manual mode as described above
- Reading and noting error codes from the diagnostic LEDs
Requires a Professional
- Any work inside the control panel. Gate operators run on both line voltage (120V or 240V) and low voltage (12V or 24V). The line voltage side will hurt you. The low voltage side is safe to probe, but without a multimeter and wiring diagram, you’re guessing.
- Spring replacement or adjustment. Counterbalance springs on slide gates are under tension. When they fail or are improperly adjusted, they release that tension violently. This is not a DIY task.
- Chain or drive belt replacement. The chain on a slide gate operator is under significant tension. A slipped chain can crush fingers or worse.
- Welding or hinge replacement. This requires specific tools, and a misaligned hinge will destroy the operator motor within months.
- Board replacement. Modern gate boards are brand-specific and often require programming that generic instructions don’t cover. A Viking board and a Linear board are wired differently, even though they do the same job.
If you’re unsure which category your problem falls into, call Electric Gate Repair in Lancaster and describe the symptom. We’ll tell you over the phone whether it’s something you can handle or something we need to see.
Photo Eye and Safety Sensor Failures: The Most Common Culprit
If your gate opens but won’t close, or reverses midway through closing, the problem is almost always a sensor. Photo eyes, safety edges, and loop detectors are the three main safety components on modern gates, and they fail in predictable ways.
Photo eyes are the small sensor pairs mounted on either side of the gate opening. One emits an infrared beam, the other receives it. When something breaks the beam, the gate refuses to close. Problems arise when:
- The lenses get dusty or dirty, which happens constantly in Lancaster’s high desert environment. Clean them with a dry microfiber cloth, not glass cleaner, which can leave a film.
- The mounting brackets get bumped or shifted, so the beam no longer aligns. Realigning requires adjusting one sensor until the indicator light turns solid.
- Direct sunlight hits the receiver sensor at certain angles, especially in the late afternoon when the sun sits low. We install sun shields or reposition sensors on west-facing Lancaster properties regularly.
- The wiring to the sensor corrodes or loosens at the terminal block, often after rain or irrigation overspray.
Safety edges are the rubber strips on the leading edge of the gate that trigger a reversal when they hit something. They fail when the internal conductive material breaks down from UV exposure, temperature cycling, or physical damage. A safety edge that’s failed will often show as an “always open” fault on the board, meaning the board thinks something is always in the path.
Loop detectors are buried in the driveway and sense vehicles waiting at the gate. When a loop fails, the gate either won’t open for cars or won’t close after a car passes. Loop failures are common in Lancaster because the soil shifts with temperature and moisture changes, which can break the loop wire underground.
The frustrating thing about sensor failures is that they’re intermittent. A photo eye that works fine at 10 a.m. might fail at 5 p.m. when the sun angle changes. A safety edge that works in dry weather might short out after a rain. If your gate works sometimes and not others, that intermittency is itself a diagnostic clue: sensors, not motors or boards, are the most common source of intermittent failures.
When the Gate Won’t Close: Reversal and Obstruction Logic
Most automated gates are designed to be far more sensitive about closing than opening. That’s intentional. Safety standards like UL 325 mandate that gates must reverse at a lower obstruction threshold than they’ll tolerate on opening, which means closing problems are more common than opening problems.
Here’s the full list of what we check, in order, when a Lancaster homeowner reports that a gate opens fine but won’t close:
- Photo eye alignment and cleanliness. This accounts for roughly 60% of “won’t close” calls. Clean the lenses, check for a solid indicator light on the receiver, and make sure nothing blocks the beam path, including plants that have grown since the gate was installed.
- Safety edge continuity. A damaged safety edge tells the board that the gate hit something, so the board refuses to close. Testing requires a multimeter, but if the edge looks cracked, brittle, or sun-damaged, replacement is likely needed.
- Limit switch setting. If the close limit is set too far, the gate will try to close past its mechanical travel, hit resistance, and reverse. This is common on slide gates where the ground has settled or the track has shifted.
- Obstruction in the track or swing path. Rocks, gravel, ice, or debris. In Lancaster, tumbleweeds and wind-blown sand regularly find their way into slide gate tracks, especially on properties near open desert.
- Reverse loop detector failure. If the loop under the driveway thinks a car is still there, the gate won’t close. Loop detectors fail silently and often need an inductive test to confirm.
Once the safety system is ruled out, the problem shifts to electrical or mechanical causes: a failing capacitor that can’t deliver enough torque to push the gate closed, a motor that’s weak from age and heat exposure, or a gearbox that’s binding. These require opening the operator and testing under load, which is professional territory.
Why Your Gate Moves Slow: Voltage, Weight, and Wear
A slow gate is often the first sign of a problem that will eventually become a dead gate. The causes break down into three categories.
Electrical causes: On AC-powered operators, the capacitor in the motor circuit degrades over time and delivers less starting torque. The gate will start slow and gain speed, or move slow the entire travel. On DC operators, low battery voltage or a failing transformer produces the same symptom. A failing capacitor is the single most common cause of slow gate operation we see in Lancaster, and it’s a $30 part that takes 20 minutes to replace, but it requires working inside the panel.
Mechanical causes: Worn rollers on a slide gate, dry or seized hinges on a swing gate, or a track that’s shifted out of alignment all create resistance. The motor compensates by working harder, which it can only do for so long before overheating and tripping the thermal overload. If your gate has been getting progressively slower over months, mechanical wear is the likely culprit.
Weight-related causes: A gate that’s heavier than the operator’s rating will always run slow. This happens when homeowners add decorative elements, replace a wooden gate with a heavier steel one, or when the gate absorbs moisture. In Lancaster’s dry climate, moisture weight is less of a factor than in coastal areas, but a poorly drained gate post can still swell wood and add significant weight.
How to Diagnose a Slow Gate
- Time the gate with your phone. Note how long it takes to open or close fully.
- Test it again an hour later. If the time is consistent, it’s a steady-state problem (mechanical or weight). If it varies, it’s likely electrical (voltage fluctuation or temperature-related capacitor failure).
- Put the gate in manual mode and push it by hand. Easy to move? Electrical. Hard to move? Mechanical or weight.
- Check the gate’s rating label against the gate’s actual weight. The operator’s horsepower and duty cycle rating is printed on the unit. If the gate feels heavy for the operator size, the operator may be undersized.
A slow gate isn’t just an annoyance. It’s the motor telling you it’s struggling, and every additional cycle is accelerating wear on the board, the gearbox, and the safety system. The fix is usually cheaper if you address it early rather than waiting for the gate to fully fail.
Common Mistakes to Avoid
- Replacing the remote battery when the gate won’t open, then calling it a day. If the gate also won’t open from the keypad, wall button, or manual override, the remote was never the problem. Test with multiple input devices before concluding anything.
- Ignoring a slow gate because it still works. A slow gate is a failing gate. Putting off the capacitor or hinge fix means paying for a full operator replacement later.
- Lubricating everything in sight. Some parts should not be lubricated, including brake pads, clutches, and certain plastic gears. Lubricant on a brake pad destroys the pad. Lubricant on a photo eye lens makes the problem worse.
- Buying a universal remote before confirming compatibility. Linear, Viking, Ghost Controls, and DoorKing use different frequencies and protocols. A universal remote that “works with everything” often works with none of them.
- Resetting the breaker repeatedly. If the breaker trips once, that’s a surge. If it trips every time the gate runs, you have a real electrical fault. Repeatedly resetting the breaker with a live fault can damage the board or start a fire.
- Leaving the gate in manual mode without securing it. Lancaster winds regularly gust over 40 mph in the spring. An unsecured swing gate in high wind becomes a battering ram.
- Assuming a broken gate means a broken motor. In our experience, the motor is rarely the first thing to fail. Boards, capacitors, sensors, and mechanical components fail more often. Replacing a motor without diagnosing the underlying cause means the new motor fails the same way.
See the difference
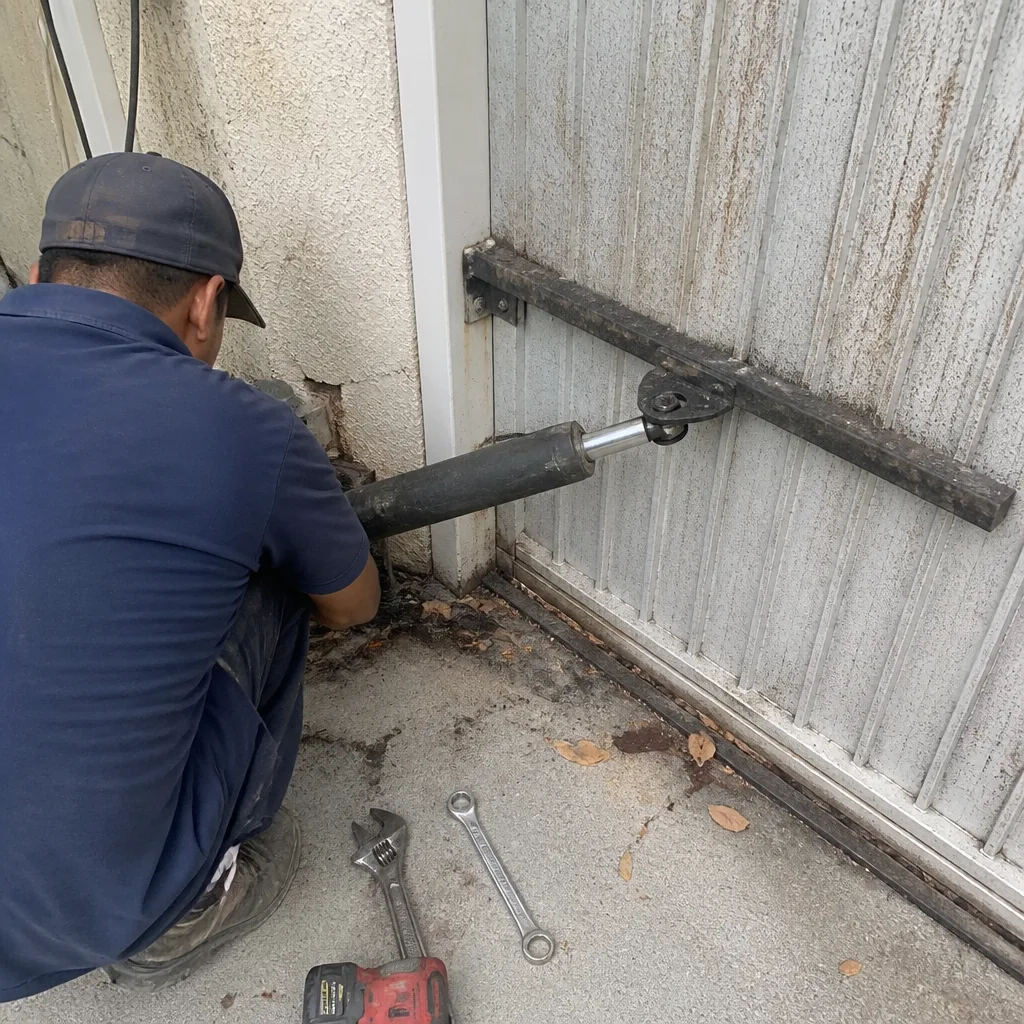 Before
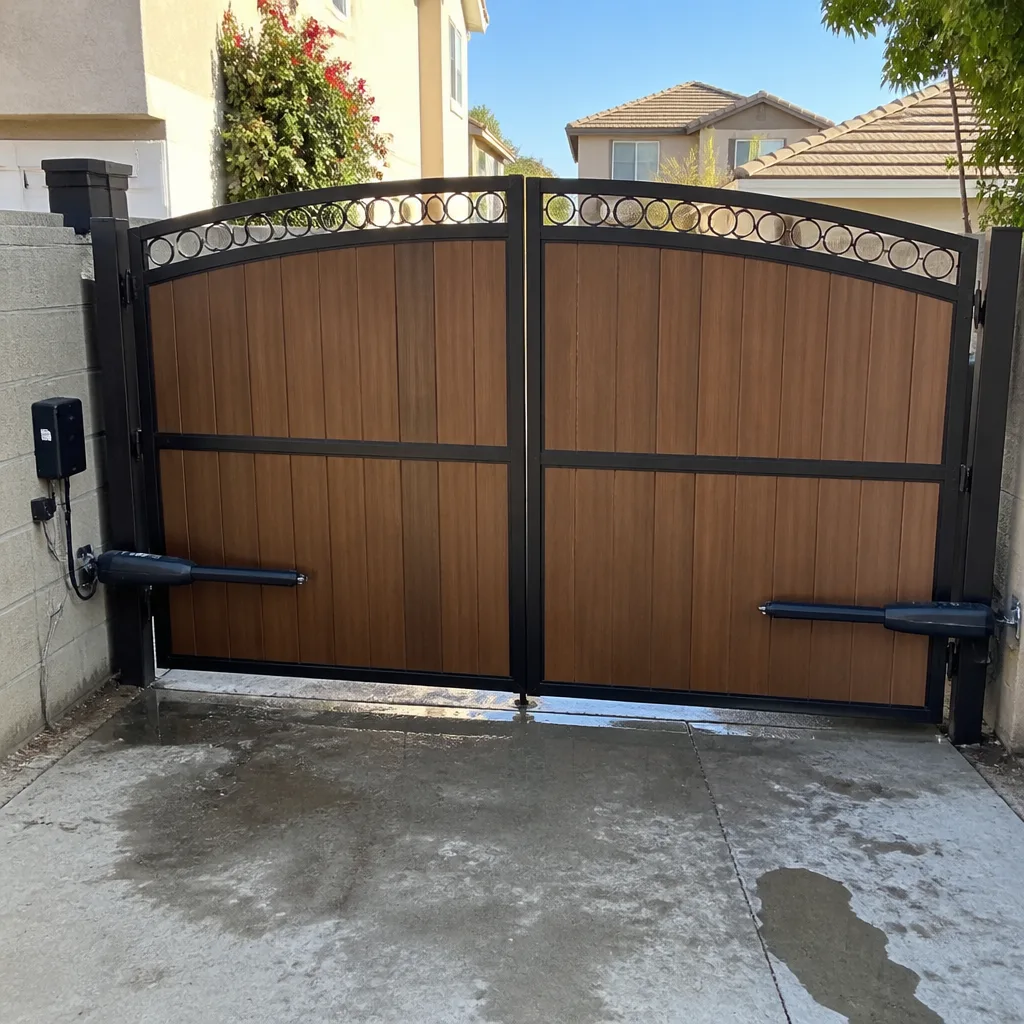 After
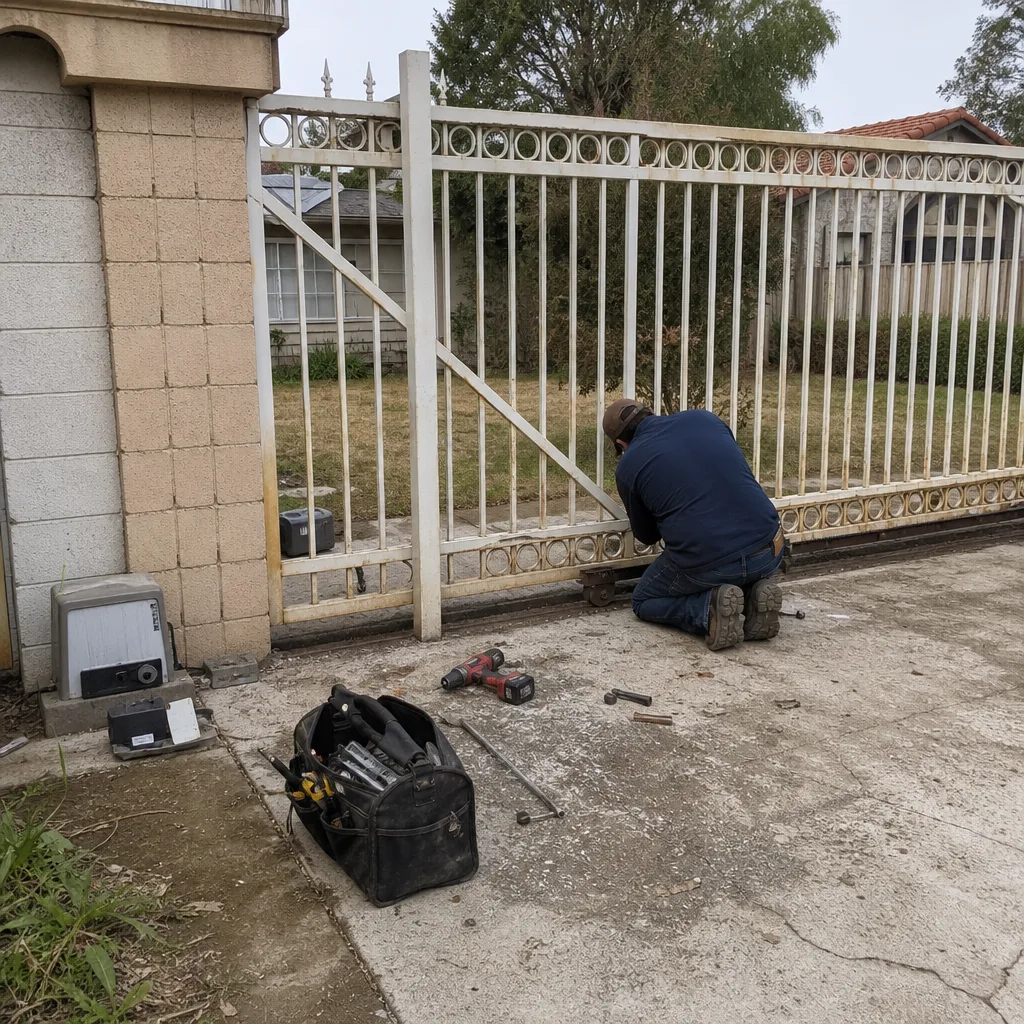 Before
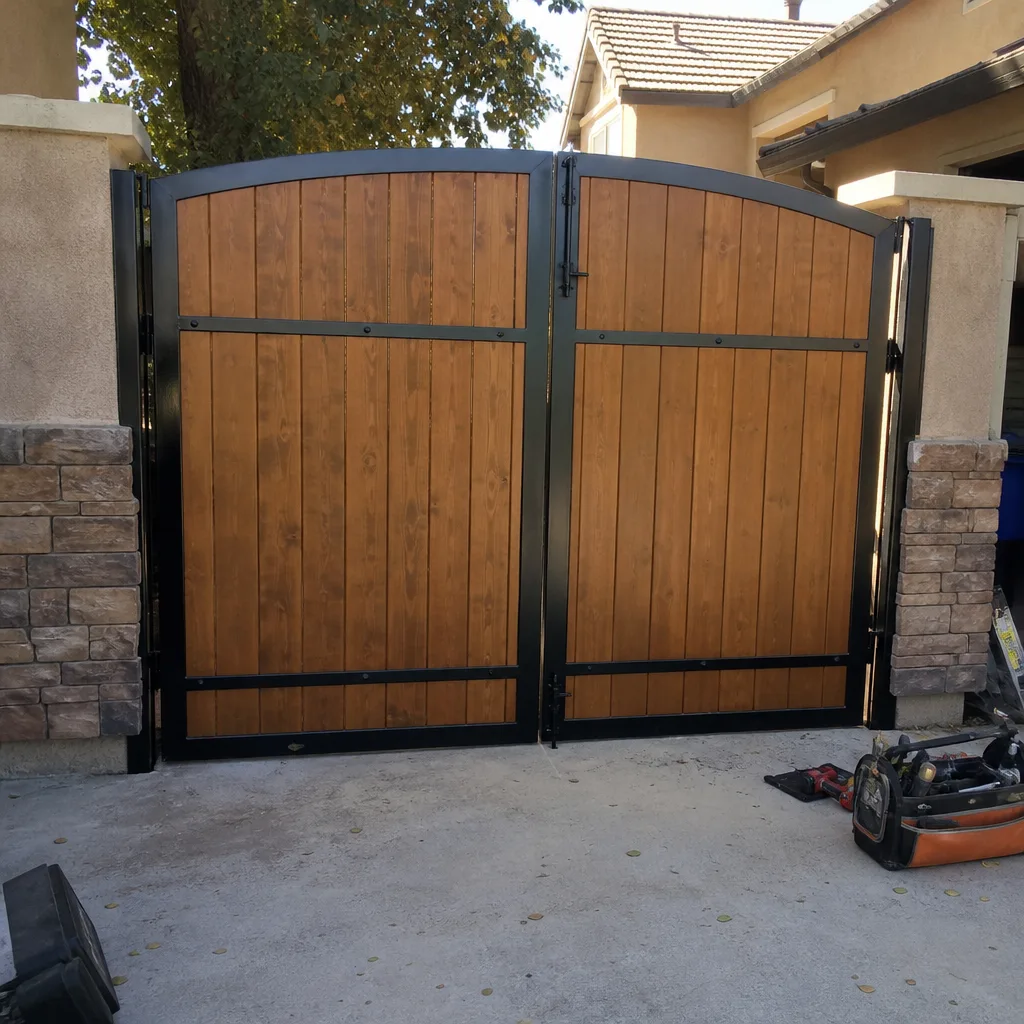 After
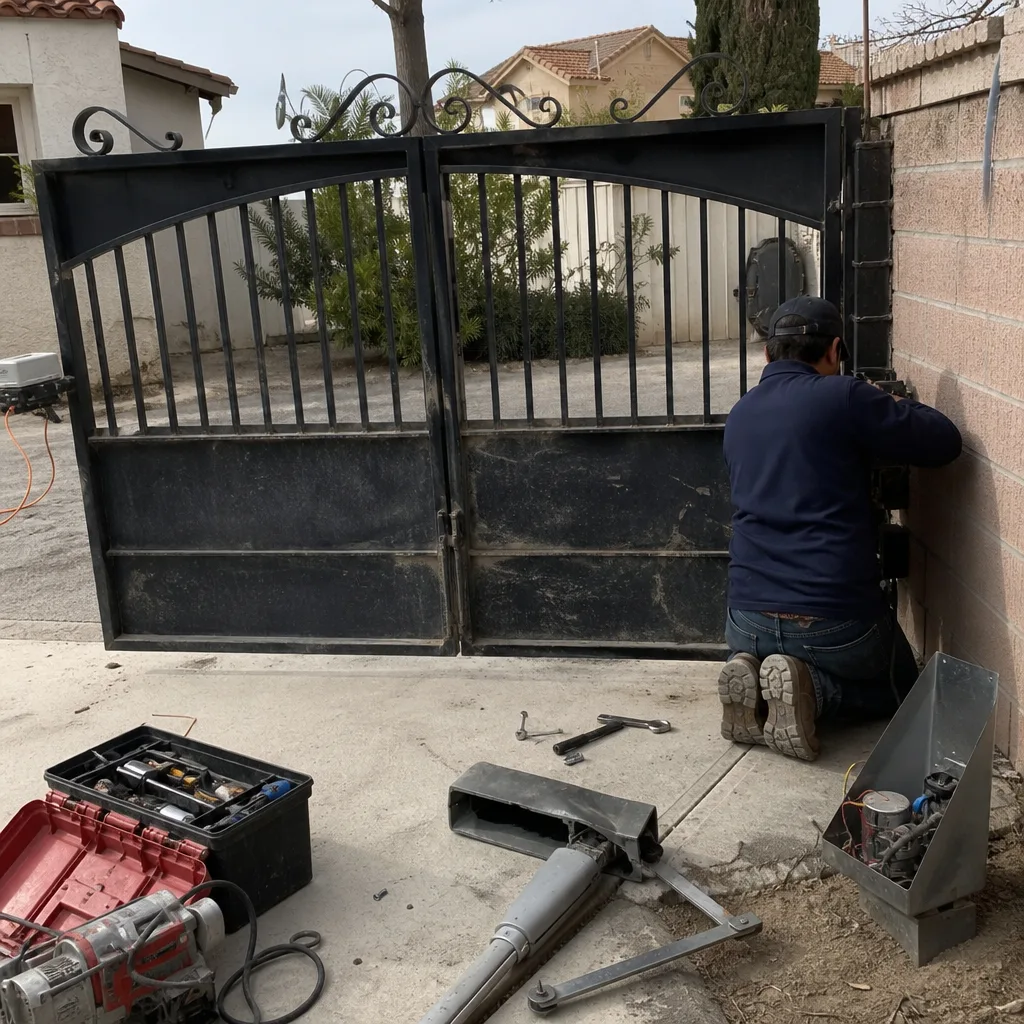 Before
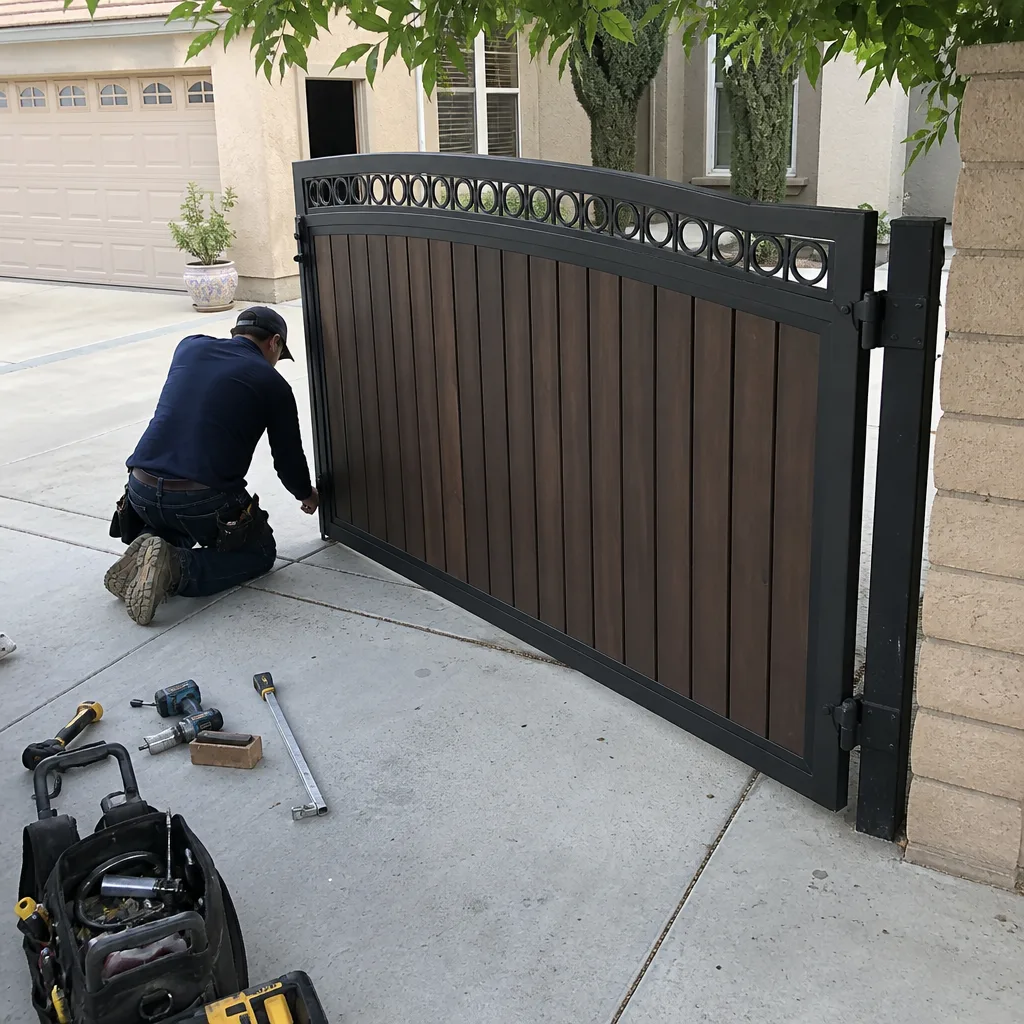 After
When to Call a Professional
If you’ve worked through the safe DIY steps and the gate still isn’t functioning, or if the problem involves anything inside the control panel, a spring, a chain, or a wiring fault, call a gate specialist. The cost of a wrong guess is often a damaged board, a stripped gearbox, or an operator that worked fine before the DIY attempt. For homeowners in Lancaster, Gate Installation in Lancaster covers new installs when repair isn’t worth the cost. Gate Repair Lancaster offers free estimates in Lancaster, call (855) 341-7657.
Our technicians are trained on Linear, Viking, Ghost Controls, DoorKing, and five other major brands, which means we diagnose by the actual system in front of us, not by guesswork. If you’ve already put your gate in manual mode and secured it, you’re safe and not in a rush, and we can schedule a service call that works around your schedule. For more guides & resources, explore our blog. If the gate is open and your property is unsecured, tell us when you call and we’ll prioritize accordingly.
Frequently Asked Questions
Gate repair in Lancaster typically ranges from $150 for basic fixes like photo eye realignment or capacitor replacement to $800-$1,200 for board replacement or major mechanical work. The exact price depends on the brand, the specific failure, and whether parts are in stock locally. Call (855) 341-7657 for an exact quote, estimates are free.
Same-day service depends on our schedule and parts availability, but many common repairs like sensor alignment, remote programming, and capacitor replacement are completed in a single visit. If your gate is stuck open, call (855) 341-7657 and we’ll prioritize your property’s security.
The blinking pattern is a diagnostic code specific to your operator brand. On Linear operators, one blink means a safety sensor fault, two blinks mean motor overload, and three blinks mean a limit switch problem. On Viking operators, rapid blinking after a command means a photo eye or loop obstruction. Ghost Controls uses beep codes instead: three beeps means low battery, five beeps means motor stall. Write down the pattern and call us if you’re unsure.
Most gates can be repaired for a fraction of replacement cost. The exception is when the gate itself has significant structural damage: rusted-through frames, bent rails, or hinges that have torn out of the post. In those cases, repair costs approach replacement costs, and we’ll give you an honest comparison before you spend a dollar.
Intermittent operation almost always points to a sensor issue: a photo eye that misaligns in wind, a safety edge that shorts out in moisture, or a loop detector that’s sensitive to temperature. Intermittent problems are the hardest to diagnose on your own because the failure isn’t present when you check. We use a multimeter and signal tester to catch intermittent faults during a single visit.
We’re certified to work on nine major gate brands: LiftMaster, FAAC, BFT, Linear, Viking, Ghost Controls, DoorKing, Elite, and Mighty Mule. That covers everything from entry-level residential systems to commercial-grade operators. If your gate isn’t one of those brands, call us anyway and we’ll tell you honestly whether we can source parts or whether you need the original manufacturer’s service network.
The Bottom Line
Gate troubleshooting is a logic problem, not a guessing game. Start with the symptom, work through the safe DIY checks, and know the difference between mechanical, electrical, and sensor failures before you start spending money on parts. If the power is on and the remote has fresh batteries and the gate still won’t move, you’ve passed the point where generic advice helps. At that point, the fastest path back to a secure property is a gate specialist who knows your exact brand. For Lancaster homeowners and property managers, that means calling (855) 341-7657 for a free estimate and the correct diagnosis on the first visit.
Written by the team at Gate Repair Lancaster, serving Lancaster since 2015.