
Last updated November 3, 2026
 Wrought iron
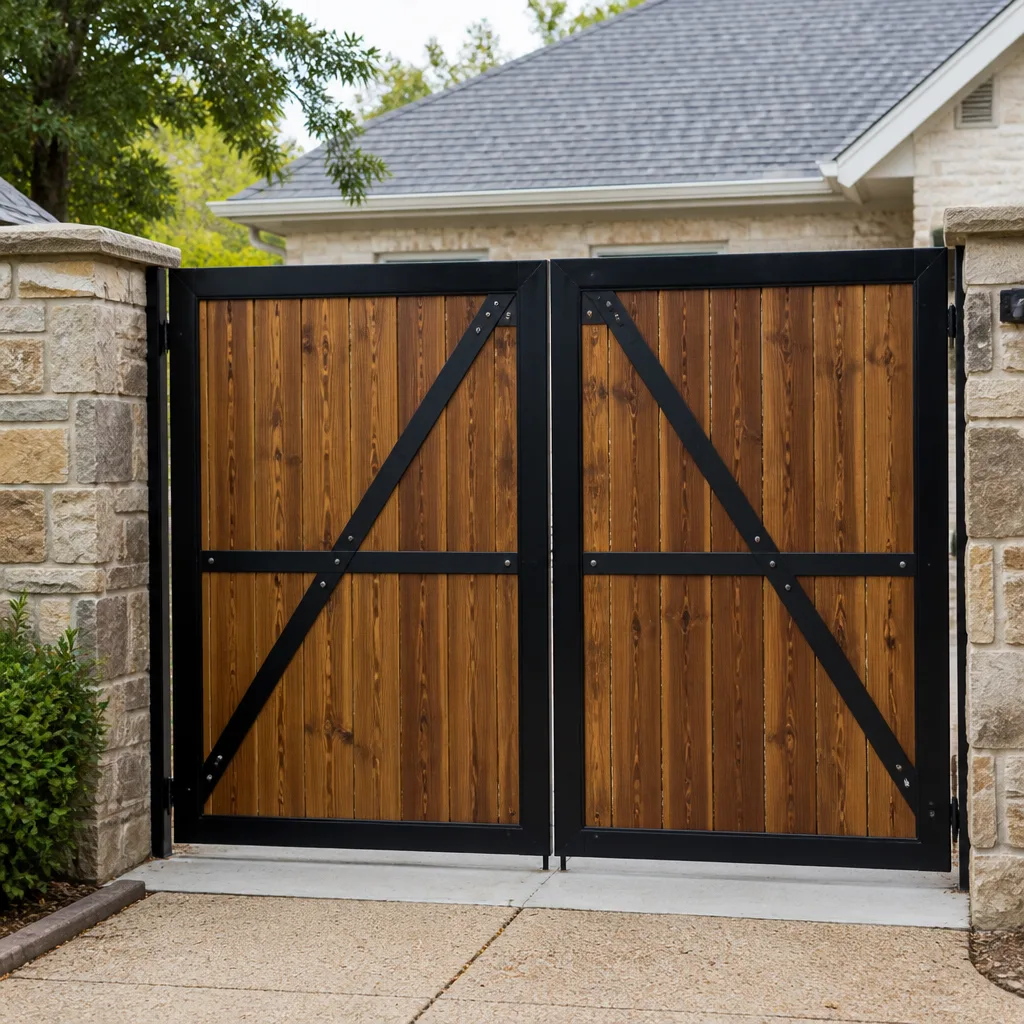 Wood & steel frame
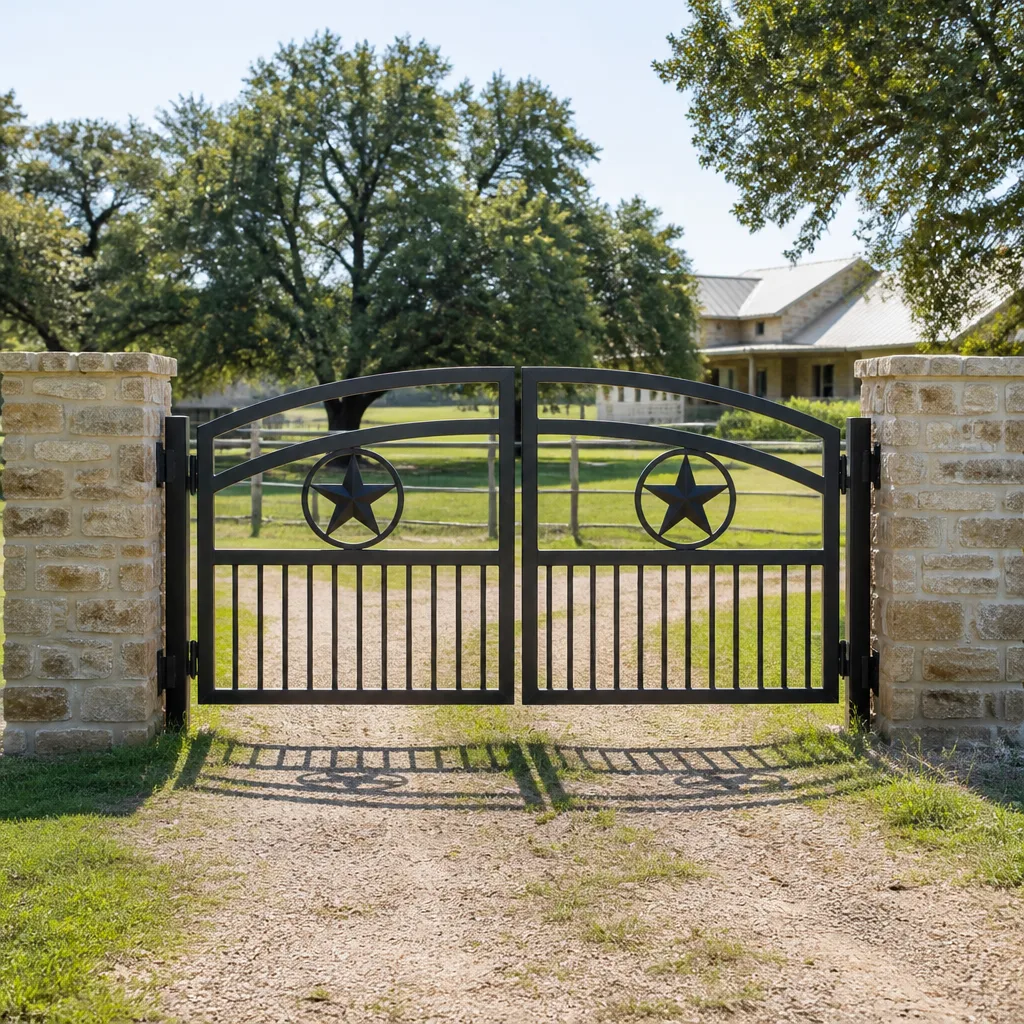 Farm & ranch
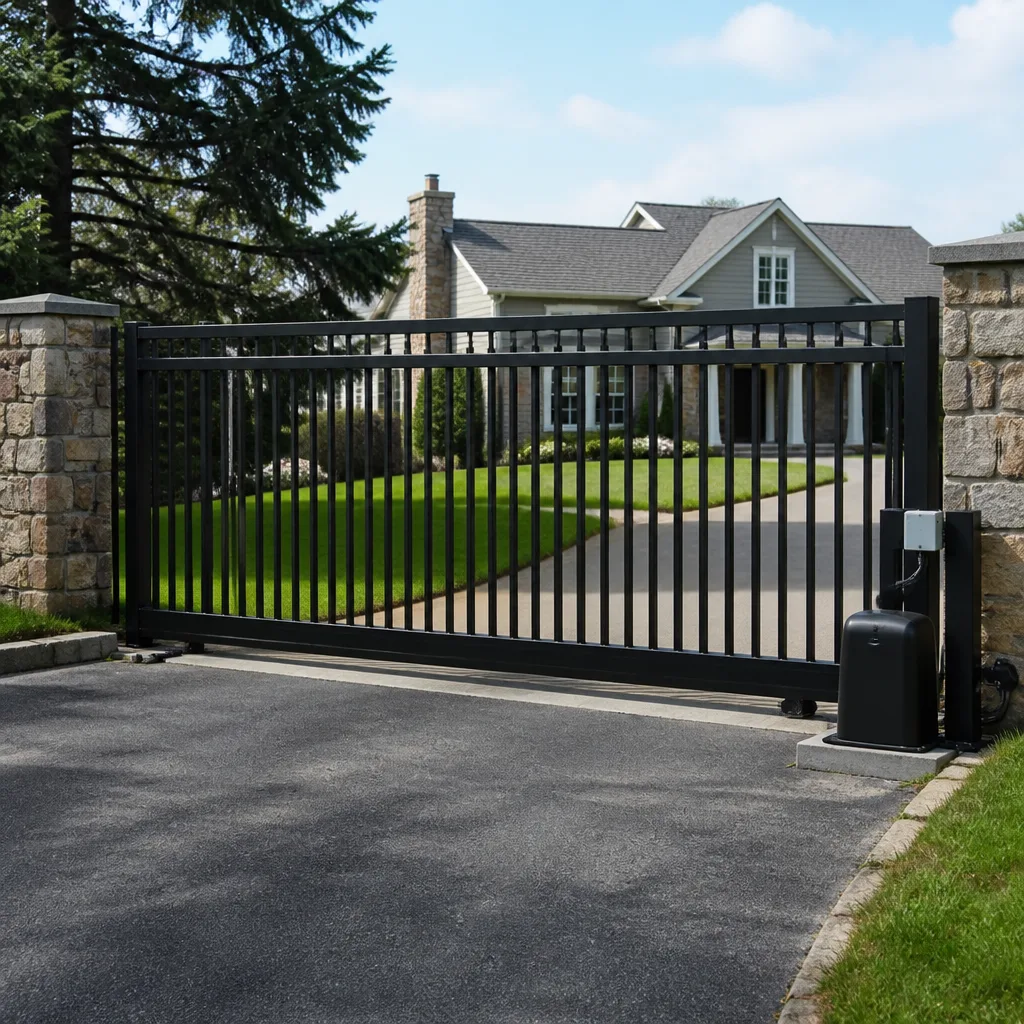 Sliding driveway gates
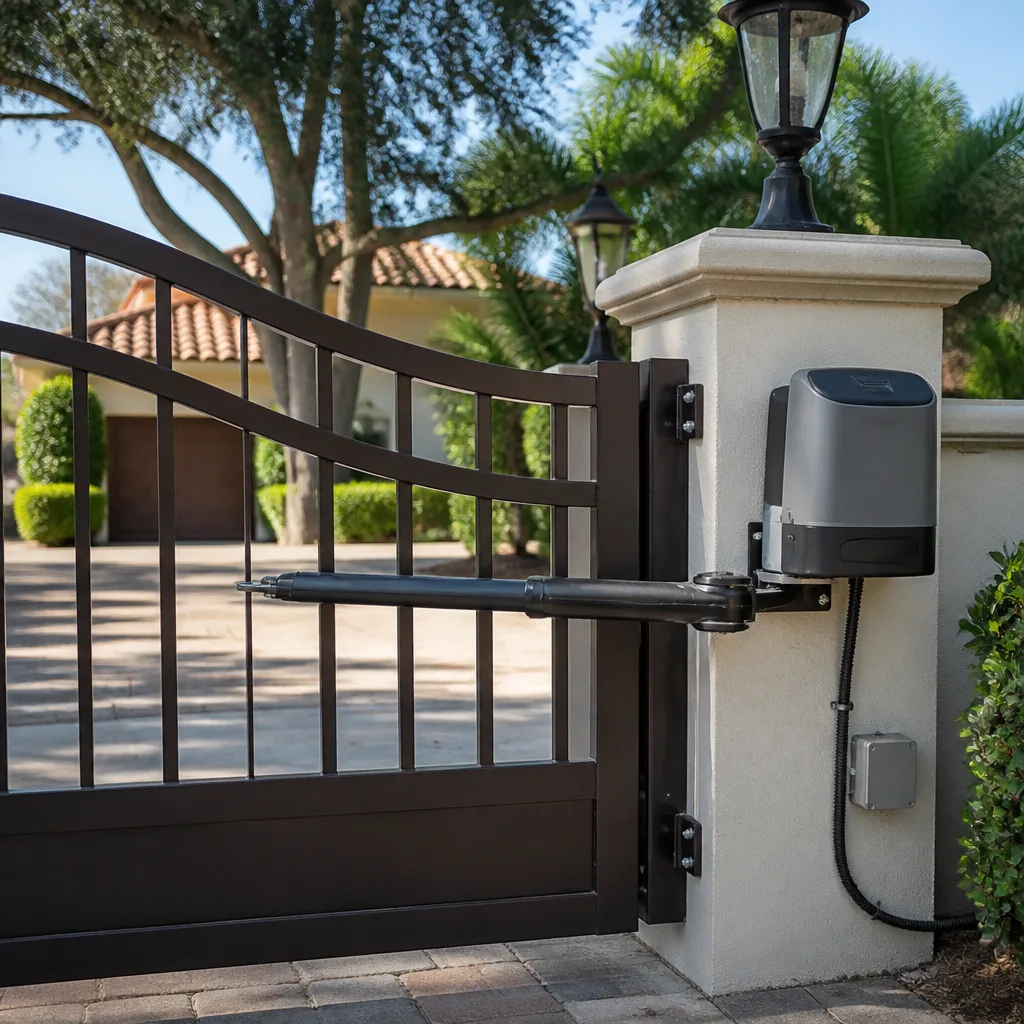 LiftMaster operators
Free on-site gate assessment - hinges, posts, and your LiftMaster or Nice gate operator checked before anything is quoted
The assessment is free and the quote is the invoice.
Get your free estimateDIY vs Professional Gate Repair: The Lancaster Homeowner’s Decision Guide
A gate that won’t open isn’t just annoying. It’s a hole in your perimeter security, a daily irritation, and sometimes a genuine safety hazard. Here’s a counterintuitive fact most Lancaster homeowners don’t know: the photo-eye sensor on an automatic gate is a simple component swap that takes twenty minutes, but the auto-reverse force dial on that same gate’s operator is a UL 325 entrapment-protection setting that must not be adjusted by anyone who hasn’t been trained on that specific system. This guide gives you an honest, component-level breakdown of which gate repairs you can handle yourself, which ones deserve a second thought, and which ones you should leave to our Gate Repair services. Lancaster’s heat, alkaline soil, and wind conditions all factor into how gates fail here, and we cover that too.
Styles & brands we work with
- Wrought iron
- Wood & steel frame
- Farm & ranch
- Sliding driveway gates
- LiftMaster operators
Quick Answer
Most cosmetic repairs and simple component swaps (photo-eyes, keypads, remote programming, hinge lubrication) are reasonable DIY projects for a competent Lancaster homeowner. Anything involving the operator’s force settings, motor internals, wiring, or a gate that came off its track after a vehicle strike is professional-only work, both because of UL 325 entrapment safety requirements and because a botched attempt typically costs more to undo than the original repair would have cost. In short: DIY the dumb parts, never the dangerous ones.
Table of Contents
- The Task-Level Decision Matrix: DIY, DIY-Adjacent, or Professional-Only
- Why UL 325 Makes Some Repairs Legally Off-Limits
- Tools and Parts a Lancaster Homeowner Actually Needs
- The Hidden Cost of Failed DIY Gate Repairs
- The One Scenario Where DIY Is Always the Wrong Call
- Why Brand-Specific Knowledge Changes the DIY Calculation
- Step-by-Step: Two DIY-Approved Gate Fixes
- Common Mistakes to Avoid
- When to Call a Professional
- Frequently Asked Questions
- The Bottom Line
The Task-Level Decision Matrix: DIY, DIY-Adjacent, or Professional-Only
The honest answer to “should I fix my gate myself” is never a blanket yes or no. It depends on what failed. We’ve organized the most common gate failures in Lancaster into three categories, with the specific reason for each classification. If you’re unsure which category your problem falls into after reading this, call us. Better to spend five minutes on the phone than risk a safety setting.
DIY-Approved Repairs (Safe for Most Homeowners)
- Replacing a photo-eye sensor: These are plug-and-play on most systems from Ghost Controls and Mighty Mule. The sensor either detects obstruction or it doesn’t. A replacement costs $35-80 and requires a screwdriver. The key is matching the part number to your operator model.
- Reprogramming or replacing a remote control: Operator manuals from DoorKing, Viking, and LiftMaster all include step-by-step remote programming sequences. If the remote still sends a signal but the gate ignores it, you may need a new remote rather than a new circuit board.
- Lubricating hinges and rollers: Gate hinges seize in Lancaster’s dry, dusty environment. A silicone-based lubricant applied quarterly prevents this. Avoid WD-40 as a permanent fix; it attracts dust.
- Tightening loose hardware: Gate bolts back out over time, especially on heavy steel gates that vibrate with every cycle. A torque check on the hinge mounts and bracket bolts falls squarely in DIY territory.
- Replacing a keypad battery or faceplate: Entry keypads from Linear and FAAC have field-replaceable batteries and faceplates. If the keypad works intermittently, this is the first thing to check.
- Cleaning the track on a sliding gate: Lancaster wind deposits sand and grit into sliding gate tracks. A stiff brush and occasional pressure wash (angled away from the motor) prevents drag that misaligns the gate over time.
DIY-Adjacent (Doable, But Risky Without the Right Tools or Patience)
- Replacing a gate wheel or roller: On a sliding gate, the roller wheels are replaced from underneath, which means lifting or propping the gate safely. If the gate is over 200 pounds, a jack and extra set of hands are non-negotiable. A gate that falls on you during this repair is a hospital visit.
- Adjusting a misaligned photo-eye: If the sensors aren’t properly aligned after a windstorm, realigning them is mechanical, not electrical. But it requires patience and an understanding of the LED indicators on your particular brand. On Viking systems, for example, the alignment LED pattern is different from DoorKing’s.
- Replacing a cracked hinge bushing: This might require grinding off the old bushing if it’s seized, which is a step-up in tool requirements and safety. If the hinge pin is also bent, leave it to a pro.
- Fixing a sagging gate with a turnbuckle or anti-sag kit: This is frame geometry, not electronics. A homeowner with a level, a drill, and patience can do it. Get the gate perfectly level before tightening, or you’ll wear out the new parts prematurely.
Professional-Only Repairs (Never DIY)
- Adjusting force settings or auto-reverse sensitivity: This is the UL 325 territory we cover in detail below. Do not touch these dials or parameters.
- Replacing or repairing an operator motor or gearbox: Motors on FAAC, BFT, and DoorKing operators are not plug-and-play. Wiring them incorrectly can fry the control board, which quadruples the repair bill.
- Repairing a gate after a vehicle strike: A bent frame or dislodged track is structural, not mechanical. We cover this in the “always wrong” section below.
- Running new power or repairing damaged wiring to the operator: In Lancaster County, electrical work on a gate operator that connects to line voltage requires a licensed electrician or gate technician who follows National Electrical Code. Doing this yourself exposes you to shock risk and potential code violations if you ever sell the property.
- Replacing a broken torsion spring on a heavy steel gate: Like garage door springs, gate torsion springs hold enormous stored energy. If one breaks while you’re working on it, it can cause severe injury. No exception for “handy” homeowners.
- Repairing or replacing the control board: A failed control board is a diagnostic conclusion, not a guess. Replacing one without confirming the root cause can destroy the new board within weeks.
Why UL 325 Makes Some Repairs Legally Off-Limits
The Underwriters Laboratories 325 standard is the federal standard for automatic gate operator safety. It’s not a suggestion. It’s the law for any automatic gate installed or serviced in the United States after 2001. The standard mandates that every automatic gate operator include entrapment-protection systems: photo-eyes, contact edges, or both, plus a force setting that limits how hard the gate pushes before reversing. Here’s the part most homeowners don’t understand: if you adjust that force setting incorrectly, and a child or animal is injured by your gate, your homeowner’s insurance company has a documented legal basis to deny the claim. You became the person who performed an unlicensed safety adjustment, and that makes you liable.
In Lancaster specifically, this isn’t a theoretical concern. The city’s housing stock includes many homes built in the 1990s and early 2000s, when automatic gate installations were common but UL 325 compliance was inconsistently enforced. If your operator is original to that era, its safety settings may have drifted, and a previous owner may have cranked up the force to compensate for a stiff hinge or a misaligned track. When you buy a home with a gate, you inherit whatever adjustments a previous owner made. That’s why our team always verifies the UL 325 entrapment settings as part of any electric gate repair in Lancaster. It’s not an upsell. It’s a liability reset.
The specific settings that are off-limits to DIY work include:
- Force adjustment on hydraulic operators (FAAC, BFT): These use pressure relief valves, not simple dials. Setting them requires a pressure gauge and knowledge of the gate’s weight and speed.
- Sensitivity parameters on linear-arm operators (LiftMaster, Viking): These are set through the control board’s programming menu. Wrong values can override the photo-eyes entirely.
- Auto-close delay adjustments: Shortening the auto-close delay increases the risk of a gate closing on a vehicle or person. It also often overrides safety sensor inputs in budget systems.
- Disabling a failed contact edge to “keep the gate working”: We see this constantly. A homeowner or a non-specialist handyman disconnects a broken contact edge so the gate keeps operating. That is a direct UL 325 violation and a serious safety exposure. A gate without a working contact edge is a crushing hazard.
If your gate pushes against a resistance and keeps pushing instead of reversing, that’s a force setting problem. Don’t “just turn it up a little.” Call us. The diagnostic is part of every gate repair in Lancaster we perform.
Tools and Parts a Lancaster Homeowner Actually Needs
If you’re going to handle the DIY-approved repairs above, you need the right tools for the specific gate types common in Lancaster. Most residential gates here are either ornamental steel swing gates or aluminum track gates. Here’s what we recommend keeping on hand if you own an automatic gate in the Antelope Valley:
- A quality multimeter: A basic digital multimeter ($20-35) is essential for testing whether a photo-eye or keypad is receiving power. You don’t need a Fluke, but you do need something that reads DC voltage accurately. Many “dead” photo-eyes are actually just unpowered due to a tripped GFCI outlet.
- A set of Torx and hex drivers: Gate operators from DoorKing and Viking use Torx security screws on their housing. A standard screwdriver set won’t open them. A security bit set costs under $20 and saves hours of frustration.
- Silicone-based lubricant: Not white lithium grease, not WD-40. Lancaster’s dust load is high, and petroleum-based lubricants turn into abrasive paste within weeks. A dry silicone spray is the correct choice for gate hinges and roller tracks.
- A magnetic level: For checking gate alignment after windstorms or ground movement. The Antelope Valley’s clay soils expand and contract with moisture, which can throw a gate slightly out of square even without visible damage.
- A non-contact voltage tester: Before touching any wiring near an operator, confirm the circuit is dead. This is non-negotiable. Even low-voltage control wiring can surprise you if it’s shorted to line voltage.
- Replacement photo-eye sensors compatible with your brand: If you own a Ghost Controls or Mighty Mule system, keep a spare photo-eye on hand. They’re inexpensive, and they’re the single most common failure point on automatic gates in this climate.
What you won’t need, and shouldn’t buy: a welder, a plasma cutter, a hydraulic press, or any specialized commercial gate tool. Those tools solve problems that are professional-only anyway. Spending $400 on a welder to fix a bent gate post is money that would have paid for a professional repair with a warranty.
The Hidden Cost of Failed DIY Gate Repairs
Here’s the math most DIY guides won’t show you. When a homeowner attempts a repair and gets it partially wrong, the professional who follows now has to diagnose two problems: the original failure, and the person-made one. That changes the service call from simple to exploratory, and exploratory work costs more.
In our experience across Lancaster, the most common DIY-created problems are:
- Stripped mounting screws in aluminum gate frames: Aluminum is soft. An over-tightened bolt strips the hole, and the repair now requires drilling and tapping a larger thread or installing a helicoil insert. A $50 hinge repair becomes a $180 frame repair.
- Miswired photo-eyes that fried a control board: Photo-eye wiring is polarity-sensitive on many systems. Connecting the wires backward doesn’t harm the sensor, but it can send reverse voltage to the control board input. That’s a $200-400 mistake on most operator brands.
- Overtightened force settings that accelerated motor wear: A homeowner who “fixed” a slow gate by cranking up the force now has a burned-out motor a year later. The motor was never the problem; a stiff hinge was. Fixing the hinge is $30. Replacing the motor is $600-900.
- Improperly re-mounted gate wheels that caused track damage: A wheel installed at the wrong angle wears the track unevenly. Two months later, the track needs sectioning and replacement. The original wheel replacement would have been $75.
- Disconnected safety edges that nobody noticed until the gate hit something: This is the most dangerous one. A homeowner or handyman disconnects a chafed contact edge, the gate keeps working, and now there’s no entrapment protection. We’ve found gates in Lancaster neighborhoods operating this way for years.
The professional repair after a failed DIY attempt isn’t just the cost of fixing your mistake. It’s the cost of verifying the entire system is safe and compliant afterward. That’s a meaningful distinction. When we perform a repair on a gate that’s been DIY-adjusted, we run a full safety verification: force test, photo-eye alignment check, edge sensor continuity, and a cycle test. That’s part of why you’re paying more the second time. You’re paying for certainty.
The One Scenario Where DIY Is Always the Wrong Call
Every rule has a category that never varies. For gate repair, the universal no-DIY scenario is this: the gate has been struck by a vehicle, or the ground under the gate has shifted enough that the gate no longer travels true. There is no version of this repair that a homeowner should attempt, regardless of skill level, tool collection, or YouTube confidence.
A vehicle strike, even at low speed, bends more than the visible panel. It bends the hinge posts, twists the gate frame, and often cracks the concrete footing. The gate may look fine from the street, but its geometry is permanently changed. A misaligned automatic gate will eventually destroy its own operator, because the motor is now fighting resistance it was never designed to overcome. Worse, a bent gate can bind mid-cycle, stop suddenly, and fall off its track entirely.
Ground movement is the other version of this. Lancaster sits on expansive clay soils in many neighborhoods. When the ground swells after a wet winter or settles after a dry summer, concrete gate footings can shift by a fraction of an inch. That’s enough to change how the gate sits on its hinges and how it tracks. Adjusting the operator to compensate for the ground movement doesn’t fix the footing; it just masks the problem until the gate fails completely.
Both scenarios require a structurally informed repair: a new footing, a re-set post, frame straightening, or a track rebuild. None of that is accessible to a homeowner with hand tools. And if a gate that has been structurally compromised falls on someone, the liability is magnified because the owner knew it was damaged and didn’t address it properly.
Why Brand-Specific Knowledge Changes the DIY Calculation
One reason general DIY advice fails on automatic gates is that “automatic gate” isn’t one product. It’s a category with dozens of manufacturers, and they’re meaningfully different. A repair that’s straightforward on a Ghost Controls residential opener may be genuinely dangerous on a Viking or Elite commercial system. The operator’s internal design, the way force is measured, the wiring architecture, and the failure modes are all brand-specific.
We work on your exact brand. That’s not a slogan; it’s a diagnostic methodology. When a technician knows that a DoorKing control board stores its force settings in a specific memory location that can be reset by a specific key sequence, they can diagnose in minutes what would take a generalist an hour of guesswork. When a technician knows that BFT hydraulic operators have a different pressure-relief adjustment procedure than FAAC, they don’t accidentally overpressurize the system.
For the homeowner, this matters in one specific way: if your gate is a brand we don’t see often, and you attempt a DIY fix based on generic advice, you’re operating without the one piece of information that matters most: how your specific operator is supposed to behave when it’s working correctly. Generic advice tells you “adjust the limit switch.” Brand-specific knowledge tells you “on this model, the limit switch is on the left side of the motor housing, accessible only after removing the top cover, and its adjustment changes the cycle speed, not the stop point.” That’s the difference between fixing a gate and chasing a symptom.
If your operator is from Ghost Controls, Mighty Mule, Viking, or DoorKing, we carry the reference documentation, the diagnostic equipment, and the replacement parts for those specific systems. That’s what a gate specialist brings that a generalist can’t. It’s also what a homeowner reading a forum thread doesn’t have.
Step-by-Step: Two DIY-Approved Gate Fixes
Here are two concrete repairs you can perform yourself on most Lancaster residential gates. These are the specific steps we’d give a friend who called us on a Saturday afternoon. Both assume you’ve confirmed the gate operator is receiving power and the circuit is not tripped.
Fix 1: Replacing a Photo-Eye Sensor on a Mighty Mule or Ghost Controls System
- Order the correct replacement sensor. Mighty Mule photo-eyes (model RB709 or equivalent) and Ghost Controls sensors are not interchangeable. Match the part number to your operator. This matters.
- Disconnect power to the operator. Unplug the operator or throw the dedicated breaker. Confirm with a non-contact voltage tester at the operator wiring terminals.
- Remove the old sensor. Photo-eyes are mounted on brackets at gate height. Loosen the bracket screws and disconnect the two wires from the sensor body. Note which wire goes to which terminal. If you forget, the operator manual has the wiring diagram.
- Connect the new sensor. Match the wire positions exactly. Reversing polarity on a photo-eye can send feedback voltage to the control board and damage it. Double-check before tightening.
- Mount the sensor at the correct height. UL 325 requires photo-eyes to be mounted no higher than 6 inches above grade for vehicle gates, and some residential systems specify a specific mounting height. Check your manual.
- Restore power and test. The operator’s LED should show the photo-eye as aligned. Pass your hand through the beam. The gate should stop or reverse. If it doesn’t, the sensor isn’t communicating with the board, and you need a professional diagnostic.
Fix 2: Lubricating and Tightening a Squealing Swing Gate
- Identify the noise source. A squeal on each cycle usually means hinge friction. A grinding noise at the end of travel usually means the operator’s internal gear is dry or failing. If it’s the latter, stop here and call us; that’s not a lubrication fix.
- Spray the hinge pins and pivot points with dry silicone lubricant. Open the gate fully to access the full hinge surface. Rotate the gate back and forth a few times to work the lubricant in. Do not use petroleum grease; Lancaster’s dust will turn it to grinding paste within a month.
- Tighten the hinge mounting bolts. Use the correct Torx or hex driver. Bolts that have backed out even a quarter turn change the gate’s angle and put uneven load on the operator.
- Check the gate for level. Place a magnetic level on the top rail. If the gate is out of level by more than a few degrees, the problem is structural or footing-related, not a lubrication issue. A level gate that still squeals has an operator problem.
- Run a full open-close cycle and listen. If the noise is gone, you’ve fixed it. If the noise persists or changed, the hinge bushings may be worn, and that’s a replacement job we’d recommend leaving to a technician.
Common Mistakes to Avoid
- Using WD-40 as a permanent lubricant on gate parts. WD-40 is a water displacer and penetrant, not a lasting lubricant. In Lancaster’s dry, dusty environment, it leaves a residue that attracts grit and accelerates hinge wear. Use silicone spray instead.
- Assuming a dead gate means a dead motor. The most common cause of a “dead” automatic gate in Lancaster is a tripped GFCI outlet or a drained backup battery, not a failed motor. Check power to the outlet before calling for a motor replacement.
- “Fixing” a slow gate by adjusting the force settings. A slow gate is usually a tired capacitor, a stiff hinge, or low supply voltage. Increasing the force setting masks the problem and shortens motor life. The correct fix is finding the actual source of the resistance.
- Replacing a control board without testing the downstream components first. A control board usually fails because something else failed first: a shorted harness, a bad sensor, or a power surge. Replacing the board without addressing the cause is an expensive way to get another dead board.
- Welding a gate while the operator wiring is still connected. The heat from welding can travel through the gate frame and damage the operator’s internal components. Always disconnect the operator and remove or shield any electronics before any welding, even for a small bracket.
- Ignoring a gate that gets progressively slower over months. Gates don’t lose speed for no reason. Progressive slowing usually indicates increasing mechanical resistance, which means the motor is working harder and generating more heat. Left alone, the motor eventually burns out.
- Bypassing a safety sensor because it’s “annoying” or keeps tripping. A photo-eye that trips constantly is telling you something is misaligned, obstructed, or failing. Disconnecting it is not a repair. It’s a safety liability, and it’s a UL 325 violation.
When to Call a Professional
Call us when the repair involves the operator’s safety settings, any line-voltage wiring, a motor or gearbox, a control board, or structural damage to the gate itself. Call us when the gate has been hit by a car, when it’s leaking hydraulic fluid, when the gate is sagging visibly, or when an attempted DIY fix made the problem different but not better. Call us if your gate is from a brand you don’t recognize or a system that’s been modified by a previous owner. We diagnose by the actual system, not by guesswork, and we work on gates from Mighty Mule up to commercial-grade FAAC and BFT operators. Gate Repair Lancaster offers free estimates in Lancaster. Call (855) 341-7657 and we’ll give you a written quote before any work begins. If you’re not sure whether your problem is DIY-appropriate, call anyway. The conversation is free, and the certainty is worth it. For Gate Repair Emergency Preparedness Guide for Lancaster Homes, see our dedicated resource.
Frequently Asked Questions
Professional gate repair in Lancaster typically runs from $150 to $450 for most component replacements (photo-eyes, keypads, limit switches, capacitors) and from $600 to $1,800 for motor, gearbox, or control board replacements, with structural repairs like post resets or track rebuilds ranging higher depending on the extent of damage. The final price depends on the operator brand, the part’s availability, and whether any previous DIY work needs correction. See our Gate Repair Cost Breakdown: The Lancaster Homeowner’s Reference for 2026 for detailed pricing scenarios. Call (855) 341-7657 for a free estimate on your specific gate.
Replacing an entire gate opener is possible for a homeowner comfortable with basic wiring and mechanical assembly, but it’s a full-day project with real safety and code implications, and if the new operator isn’t configured to UL 325 entrapment-protection standards, you inherit the liability for any failure. Most Lancaster homeowners we talk to are better served by hiring a gate specialist for installation and doing the routine maintenance themselves afterward. A full gate installation in Lancaster includes setup, safety testing, and warranty coverage.
A gate that stops halfway and reverses is usually reacting to a false photo-eye trigger or a force setting that’s too sensitive for the gate’s actual resistance, and in Lancaster’s gusty conditions, wind-blown debris or vegetation crossing the light beam is a common culprit. Check for anything in the sensor’s path and verify the sensors are still aligned. If the problem persists, the force parameters or sensor sensitivity need professional adjustment.
Gate motors in Lancaster’s Antelope Valley climate typically last 7 to 12 years, with the lower end applying to budget openers that run multiple times daily in high-heat summers and the upper end to commercial-grade operators that are properly maintained. Heat is the primary factor; Lancaster’s 100-degree-plus summer days shorten the life of capacitors and insulation in budget residential motors, while dust accelerates hinge and track wear that forces the motor to work harder.
Most automatic gates can be disconnected from their operator and operated manually using the release mechanism, but a swing gate that’s heavy and unbalanced may be difficult or dangerous to move by hand, and a sliding gate off its track shouldn’t be forced. If your gate opener has failed and you need to use the gate, disengage the operator using the manual release, then test that the gate moves freely without resistance. If it doesn’t, leave it alone and call for gate repair in Lancaster.
Yes, we service both residential and commercial-grade gate systems, including DoorKing, Viking, Elite, BFT, FAAC, Linear, LiftMaster, Ghost Controls, and Mighty Mule operators. Our technicians are trained on the specific maintenance and safety procedures for each brand, not generic gate repair principles. If your property uses a commercial operator and it’s malfunctioning, call (855) 341-7657 to schedule a diagnostic visit.
The Bottom Line
The DIY-versus-professional question for gate repair comes down to one thing: which specific component failed. Photo-eye swaps, lubrication, keypad batteries, and hardware tightening are honest DIY work for a Lancaster homeowner with basic tools. Force adjustments, control boards, motor internals, and anything involving line voltage are professional-only territory, protected by UL 325 safety standards and the liability exposure that comes with getting them wrong. If a vehicle struck your gate or the ground has shifted, DIY is never the answer. And if you’re not sure, a phone call costs nothing. Gate Repair Lancaster is the dedicated gate specialist for Lancaster homeowners and property managers who want their gate fixed right, by someone who knows their exact brand. Call (855) 341-7657 for a free estimate, and we’ll tell you honestly whether your repair is a Saturday project or a technician’s job. Back to secure in one visit.
Written by the team at Gate Repair Lancaster, serving Lancaster since 2015.
See the difference
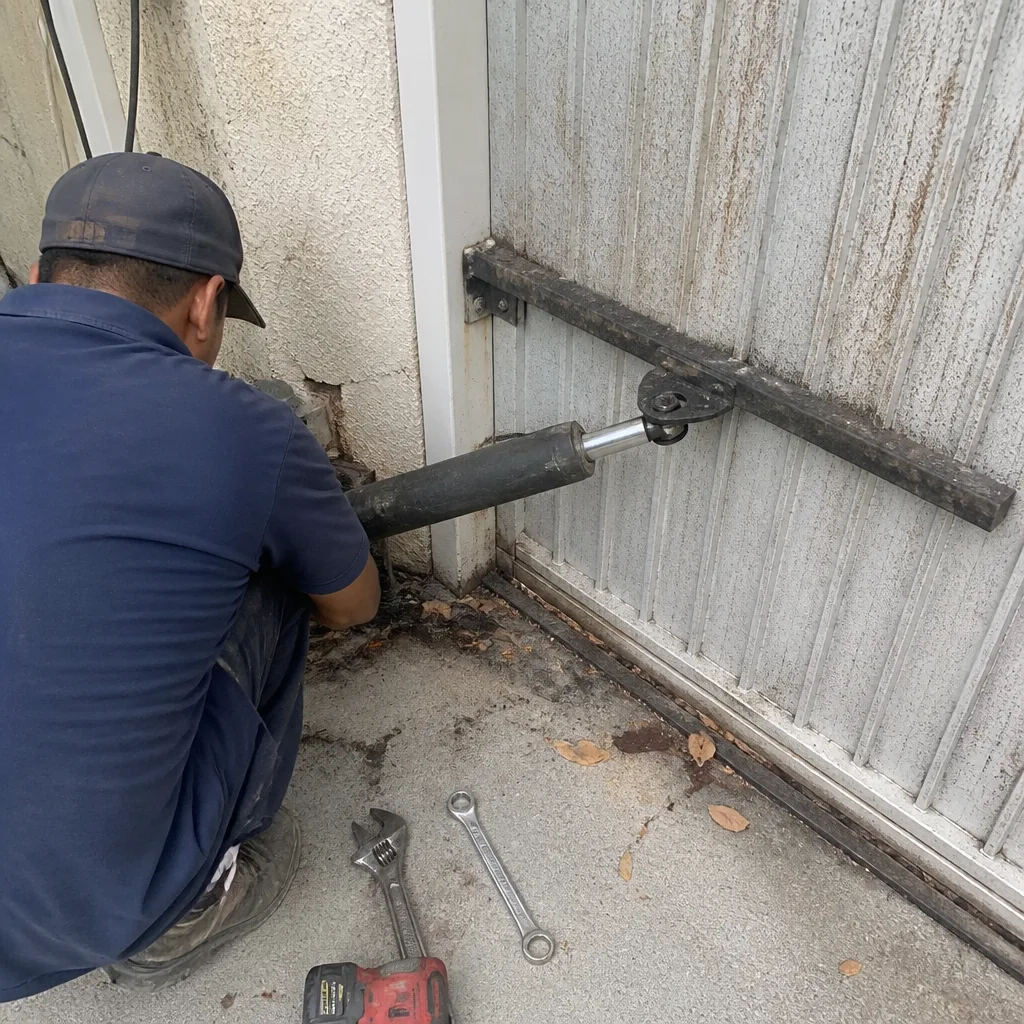 Before
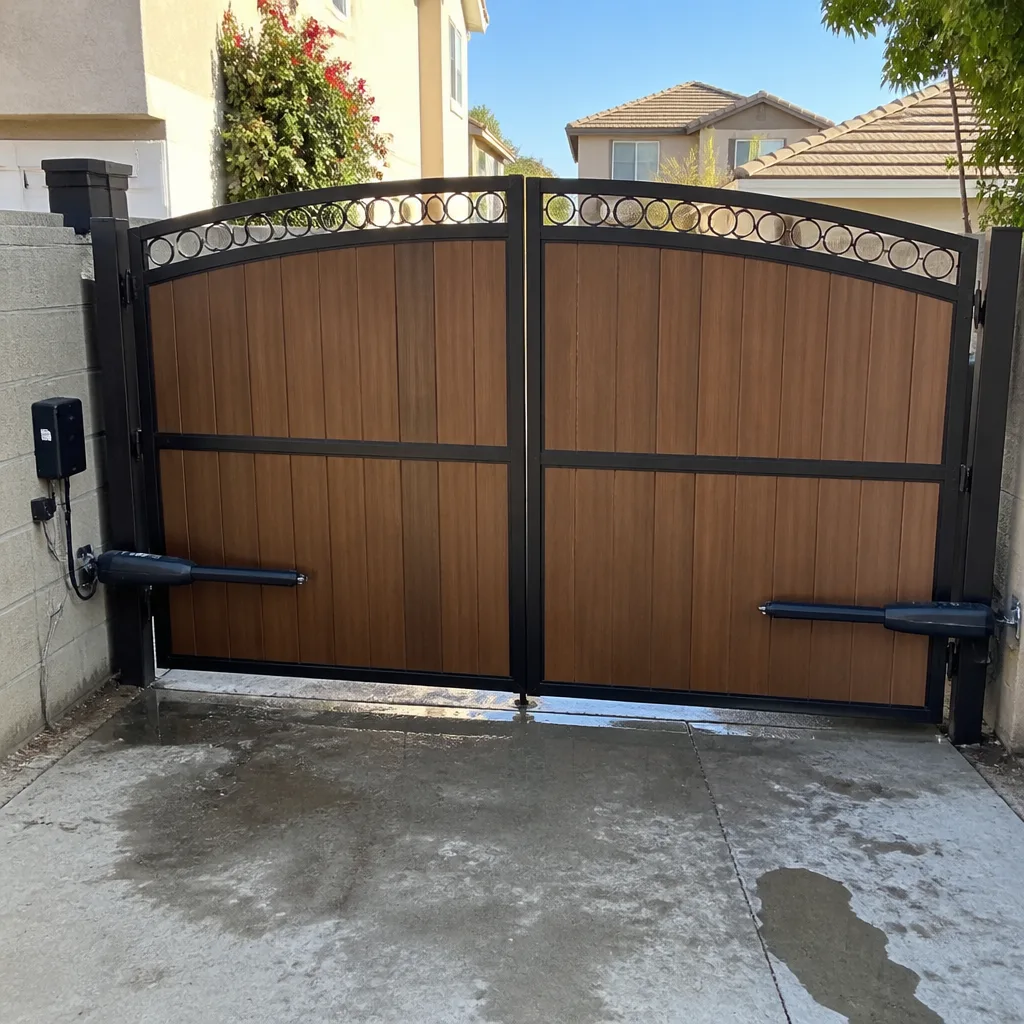 After
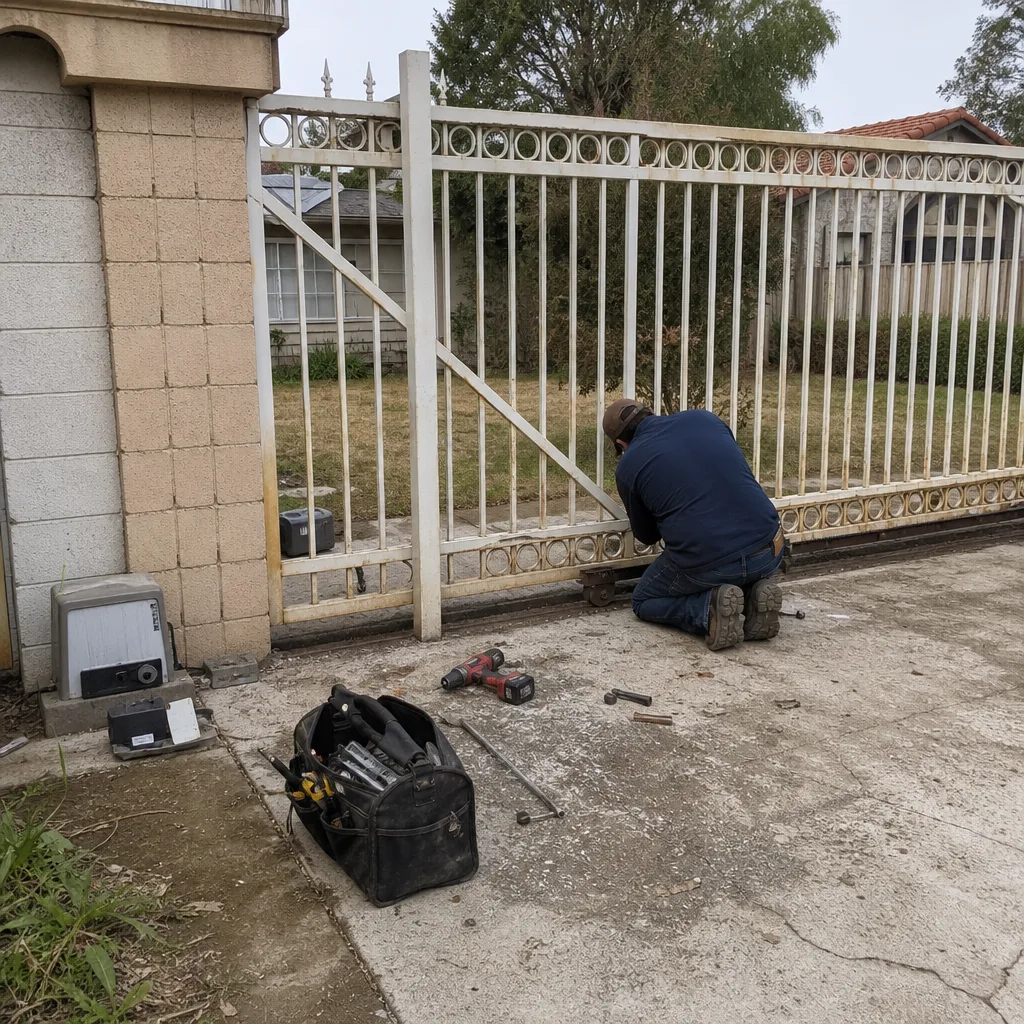 Before
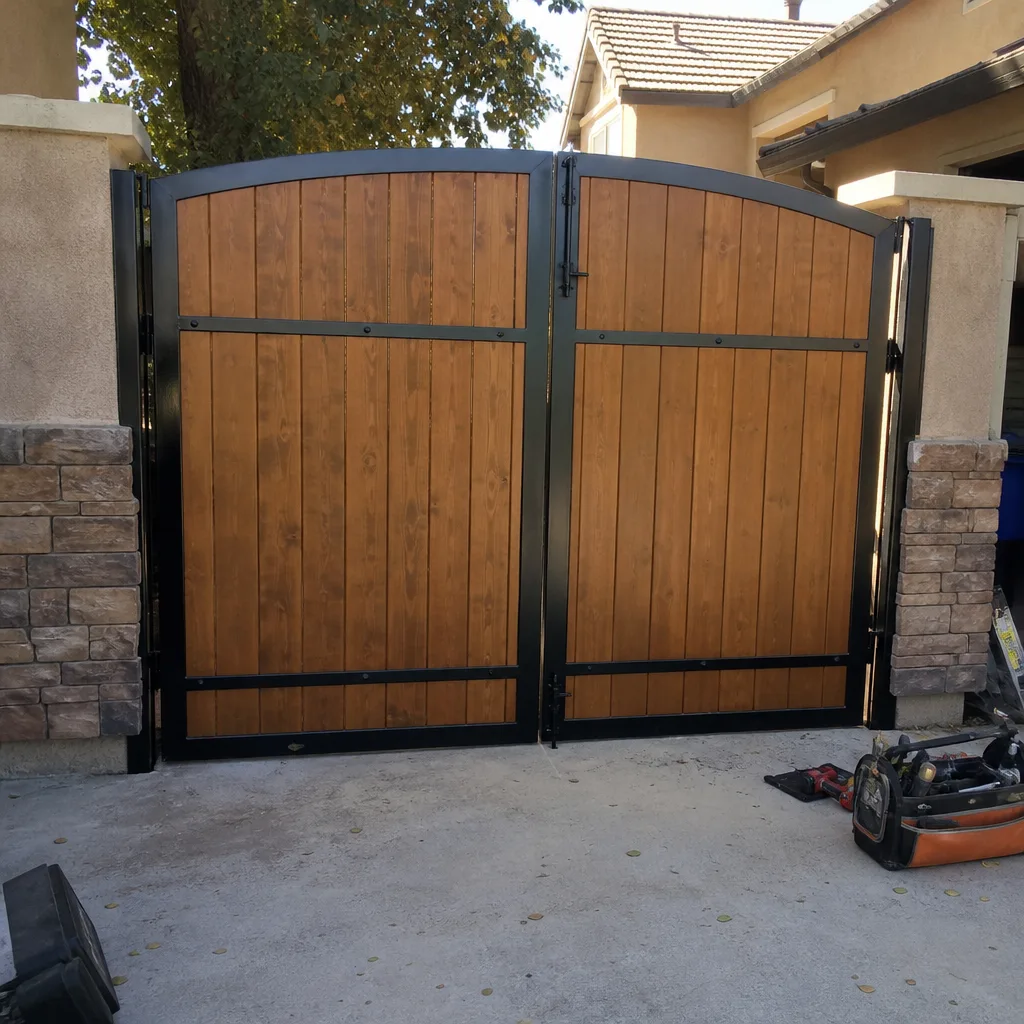 After
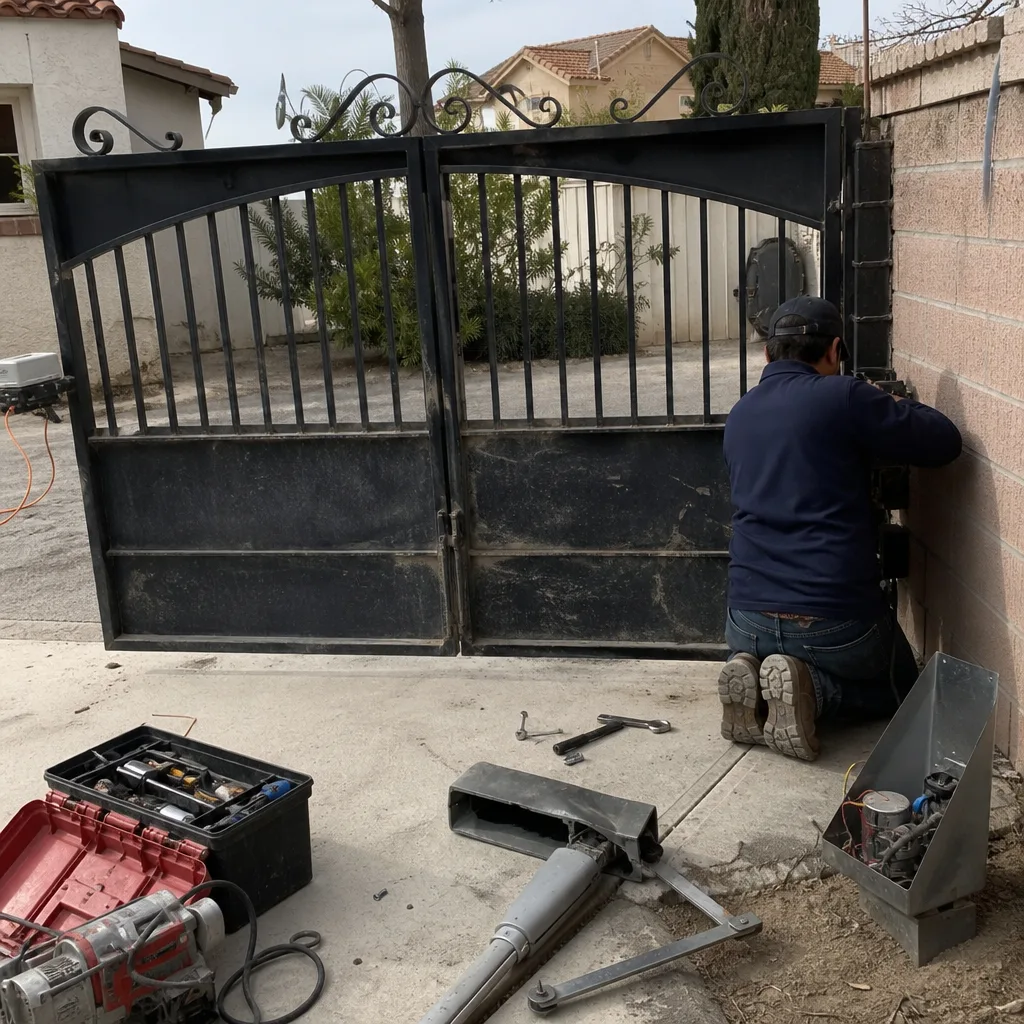 Before
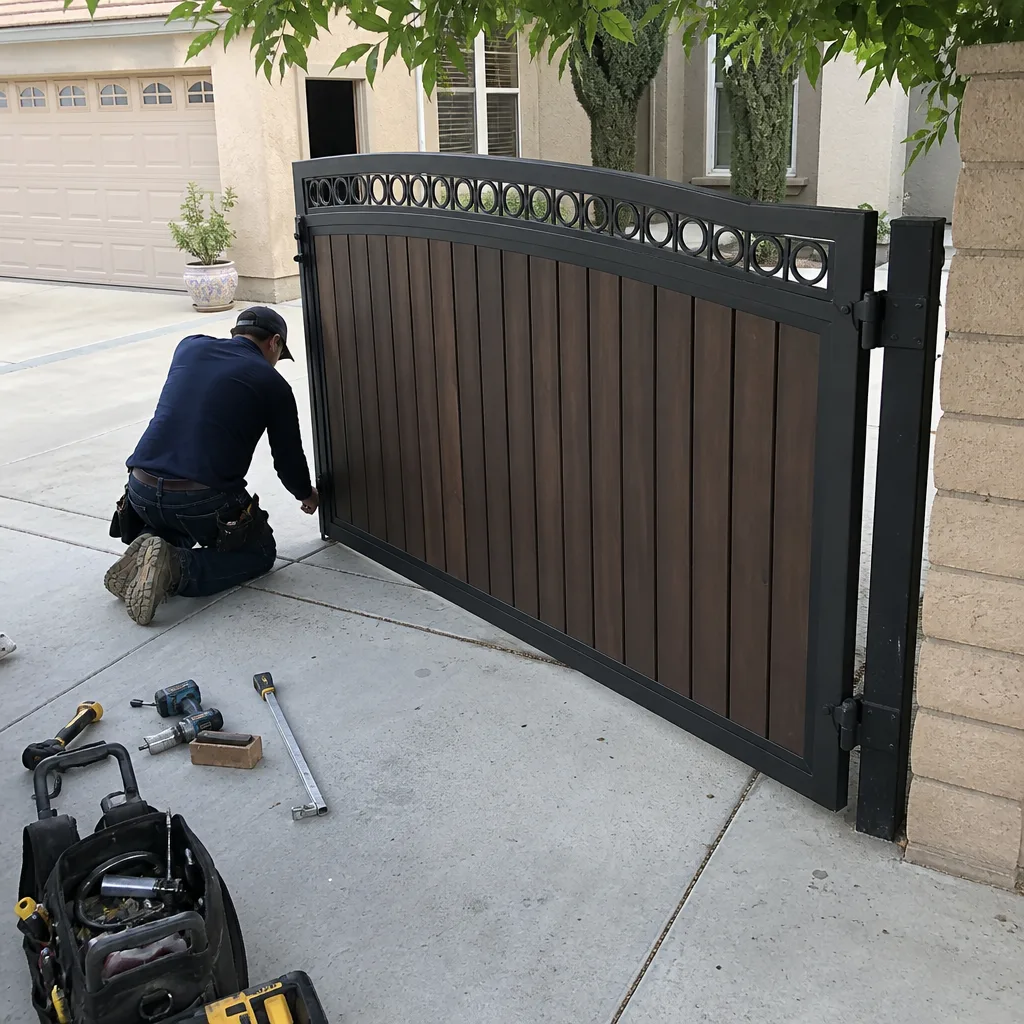 After